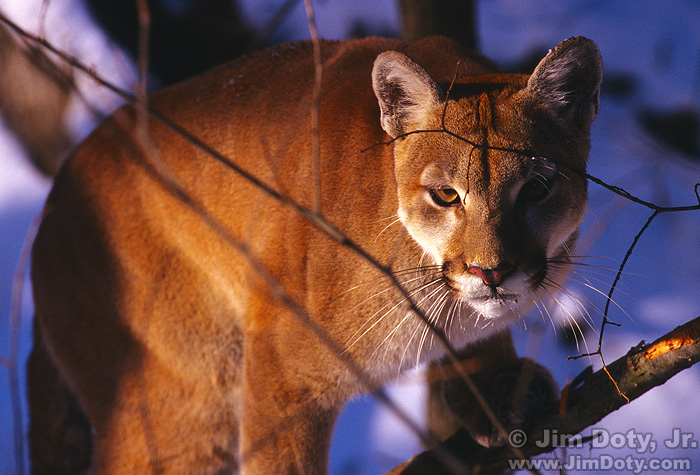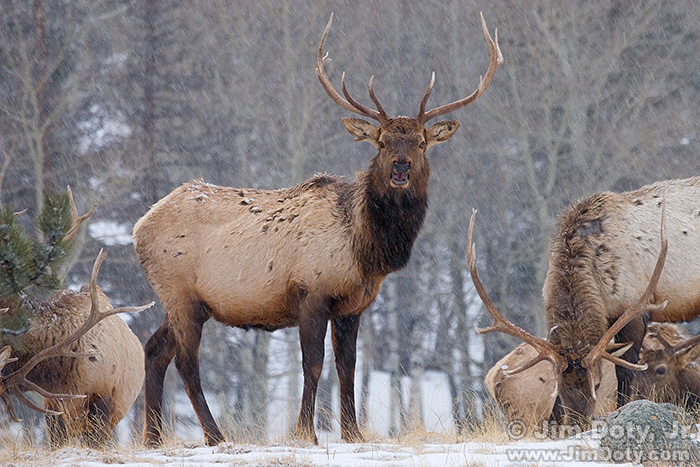
Most wildlife are medium to dark in tone, making them a challenge to meter properly in the bright, white tones of winter. If you trust your camera’s auto exposure modes, the odds are good you won’t get the best exposure. If you switch over to manual exposure and make the right decisions, you can get great exposures and better quality photos (more about that later).
Category Archives: Photographs
Metering Wildlife in the Snow, Part One
Metering dark toned wildlife in the snow is a major exposure challenge. It is usually best to avoid large “burned out” areas (washed out, featureless white) in a nature or landscape photograph, but with properly exposed snow, the wildlife can be so dark as to lose all texture. On other hand, metering for the wildlife can burn out the snow. So what do you do?
Metering People in the Snow
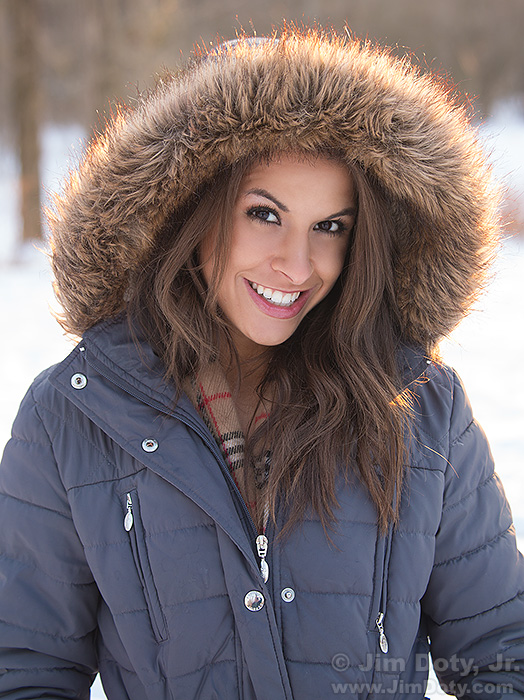
The white snow in a winter scene can and often does fool a camera meter into underexposing a portrait, so here are the steps to take to get the right exposure. I throw in a few portrait suggestions too.
Metering Daytime Winter Scenes
Metering for scenes with a lot of snow can be tricky since the bright snow fools the camera meter. I see a lot of winter photos with gray snow, which means the camera meter did exactly what it was designed to do and the camera owner didn’t know how to use exposure compensation. The solution is quite simple provided you know what to do.
POTD: In A Back Alley, Part 2 (Fill Flash)
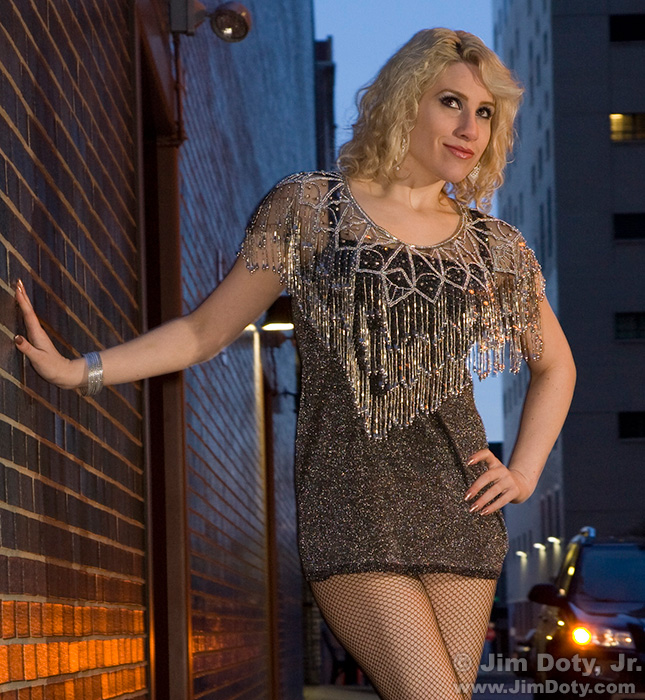
Last August I was in a back alley taking pictures against this brick wall. I liked the location and decided to come back and shoot here again. In August the light was pretty even. This time I needed to make some fill flash decisions.
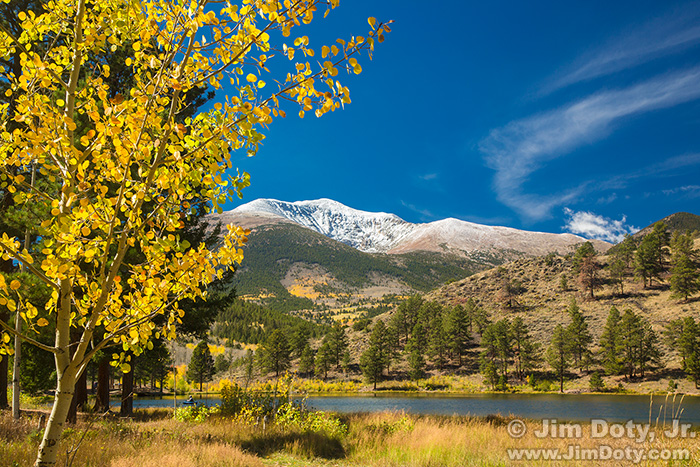
Mt. Ouray from O’Haver Lake
As I asked at the end of Part One in this two article series, “Why am I so attached to Mt. Ouray (and O’Haver Lake)?” The answer is simple. They have been part of my life for a long time.
Protect Your Camera Gear in the Cold and Snow
Cold and snow can cause a lot of damage to your camera gear. The simple steps in this article could save you hundreds of dollars in repair bills.
“How To” Series: Winter Photography
Update: December 18, 2015. This series was revised and expanded last winter (January through March 2015) and I will update it again beginning in January 2016, but for some of you winter is NOW, so I am re-posting this set of links so you have them now.
Update: January 9, 2016. As of today five of articles have been revised and updated from last year’s versions. I have also written several new articles that are related to this series and included links. Over the next few days I will revise and update the rest of the articles. Stay tuned.
In addition to all of the usual photographic challenges, winter provides some extra complications, especially in terms of metering. So I began my series of articles on winter photography. This year I revised three prior articles and added six new ones. They will help you meet the unique challenges of winter photography. So read the articles, get out there, have fun, and create some stunning images!
Photo Shoot: Many Faces
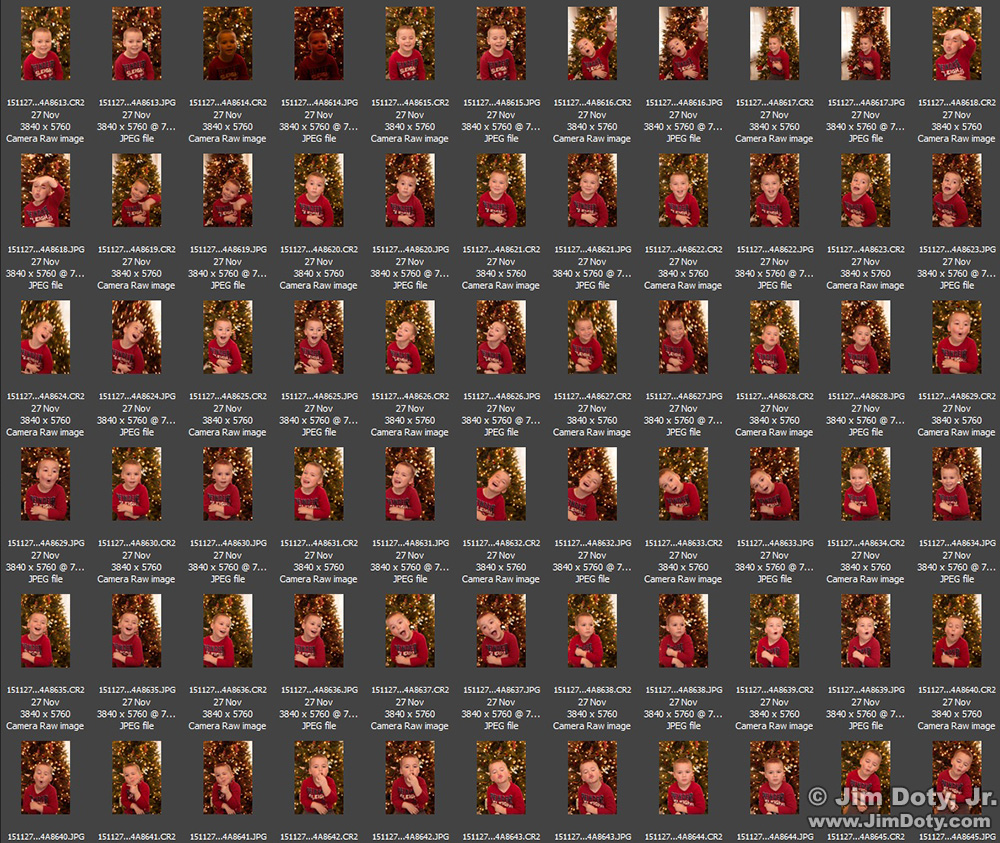
My initial mission was to get a “normal” portrait of my four year old grandson in front of the Christmas tree. As often happens with young children, things went a little differently than I expected.
Your Camera Does NOT Capture Reality! (And what to do about it.)
You have heard it said a lot, and maybe said it yourself: “This picture doesn’t do it justice.” That is often true and for several reasons. One is that digital cameras do not capture reality. No matter how fancy or inexpensive, digital cameras simply do not capture what your eyes see. That is also true with film cameras. All color photographic films have different color characteristics. Some have better reds, others have better greens or blues. Some are more saturated and others less saturated. But none of them are totally color realistic. Why don’t cameras give you realistic images and what can you do about it?
Note: This article has been updated here.
Kristina in a Stairwell
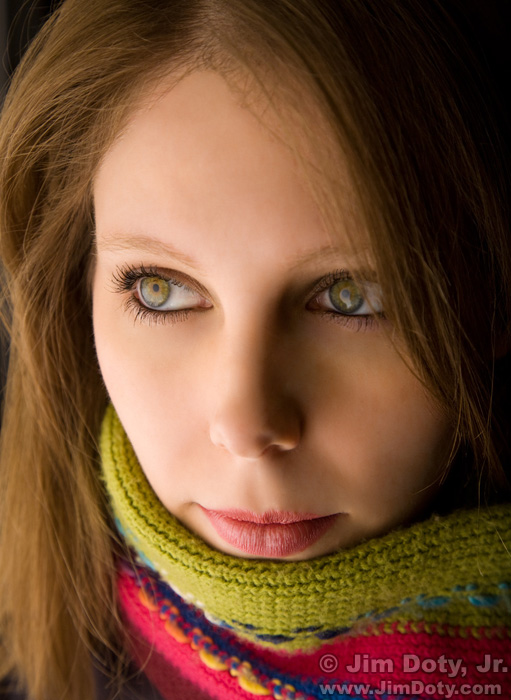
Kristina, a professional model based in L.A., wanted to schedule a photo shoot when she was in Ohio. She arrived right before I left Ohio on a trip, so we had only one day to work together. It was a bright, sunny day and bright sunlight is usually too harsh for good portraits, so we worked as much as possible in shady locations.
Sarah: Nine Years Ago This Evening
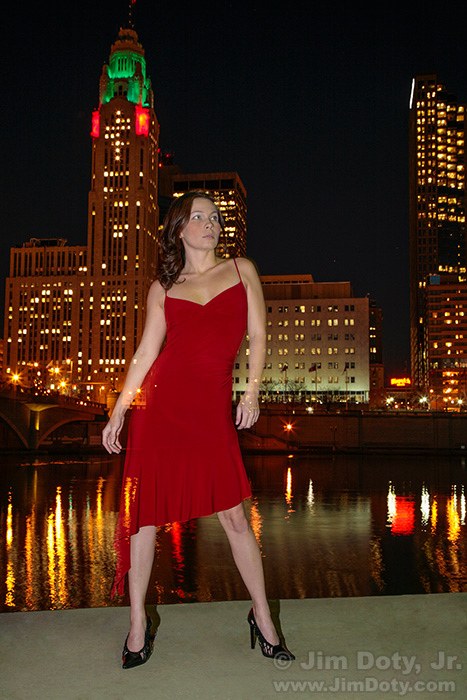
Nine years ago this evening, Sarah and I headed for downtown Columbus to do a Christmas photo shoot. We set up with the skyline in the background and I clicked the shutter for this image at 5:55 pm. I deliberately waited until the clock on my computer said 5:55 to post this article.
Posted December 13, 2015. Updated January 25, 2020.
“How To” Series: Off-Camera Flash
Twelve articles (links below) to get you started with off-camera flash. The equipment you will need and how to use it.
Getting your flash off the camera opens up a whole new world of photographic possibilities. And the really good news: the equipment is way less expensive than it used to be. If you are ready to get started, I just finished writing (or re-writing) a series of articles on off-camera flash that covers the equipment you will need and shows you how to use it.
Environmental Portraits and Off-Camera Flash, Part 2
Off-camera flash is so useful because it gives you a different look from the millions of photos that are taken with the flash on the camera. The light can come from any direction you choose, no matter where your camera is, and the latest technology makes automatic flash exposure quick and reliable.
Environmental Portraits and Off-Camera Flash, Part 1
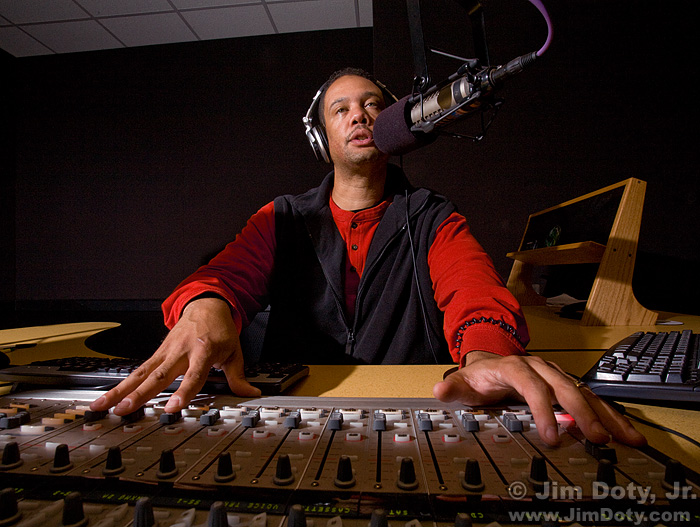
If I am using flash for an environmental portrait, I usually prefer having the flash off of the camera. In this portrait of Warren Stevens (program director and mid-day air personality at Magic 106.3 FM in Columbus), the flash is above Warren and to his right, providing a nice semi side-lit photograph. On camera flash is flat and even. Getting the flash off of the camera and moving it to the side provides more shape and texture to the subject.
Recommended Closeup Equipment
There are several ways to do closeup photography. Closeup filters, extension tubes, and macro lenses are the most commonly used options. Each of them have advantages and disadvantages.
Four Years Ago Today: The Photo That Broke My Camera
This is the last photo of a photo shoot that should have gone a little longer. But my camera broke. So many people kid about “if you take my picture it will break your camera” that I was tempted to say to her “You broke my camera!”
Photo Shoot: Using a Halo Softbox with a Yongnuo Radio Controlled Flash System

Kristina. Sunlight coming from the right. Halo softbox with Yongnuo speedlite providing light from the left.
After testing a Bob Davis 45 inch Halo Softbox and Yongnuo YN600EX-RT radio flash on my most available model (my dog), I needed to test it out on a real model. Opportunity called in the form of a message from Kristina, a professional model based in Los Angeles (and an absolute delight to work with). She would be in Ohio for Thanksgiving and she wanted to schedule a shoot. I was leaving town for Thanksgiving, but fortunately for us we had one day to shoot after she arrived and before I left.
Why Use Off Camera Flash?
Why use an off-camera flash? It gives you more lighting options. And much of the time, the light from an off-camera flash is just plain better. The image above was created with one flash to camera right.
Using the Histogram to Check Studio Flash Exposures
When using studio flash units, usually the best way to check your exposures is to use an incident light meter which is capable of metering flash exposures. But what if you don’t have an incident flash meter? Or what if you have a subject that absorbs a lot of light? Or a subject that reflects a lot more light than your typical photographic subject? You can double check your exposure settings by using the histogram on your camera. FYI: Do not trust the LCD image on the back of your camera to judge your exposures.
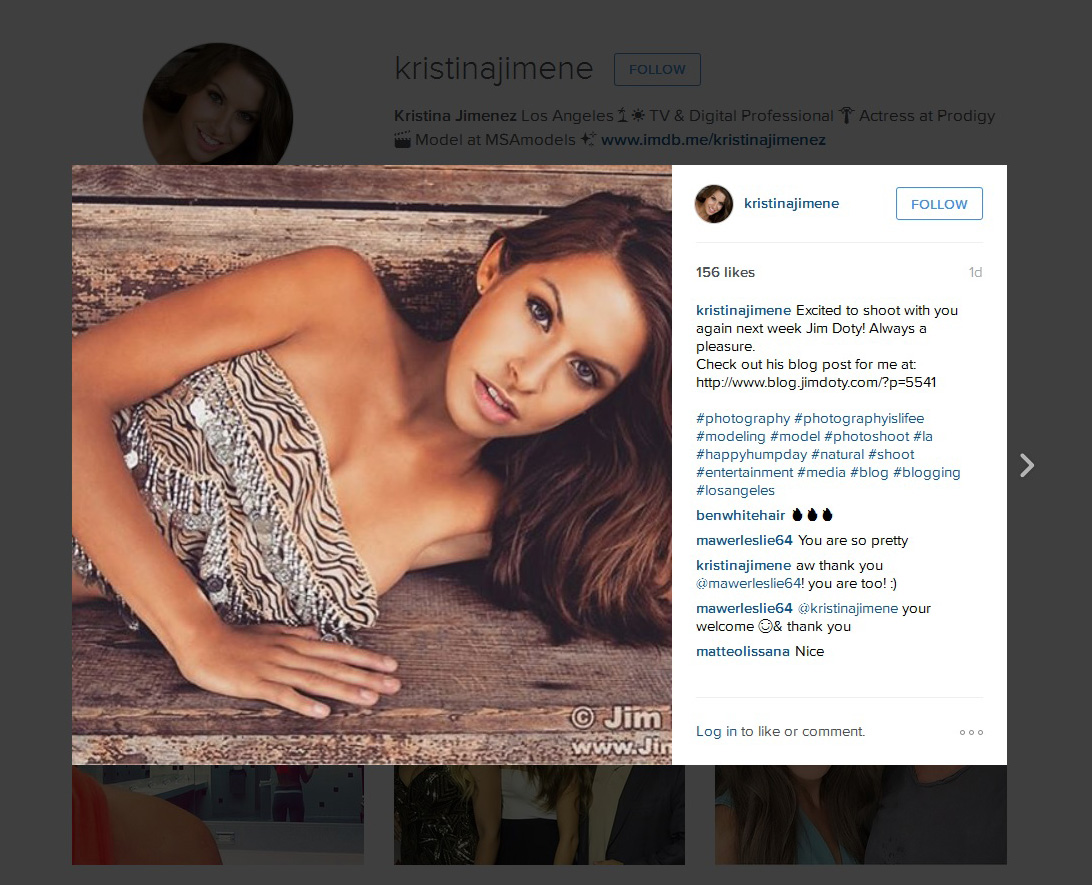
Kristina’s Instagram Post
Kristina Jimenez posted an “Excited to shoot with you again” note on Instagram. It made my day. We have worked on several photo shoots together. She is an absolute delight to work with and a first class professional model. I am excited about working with her again.
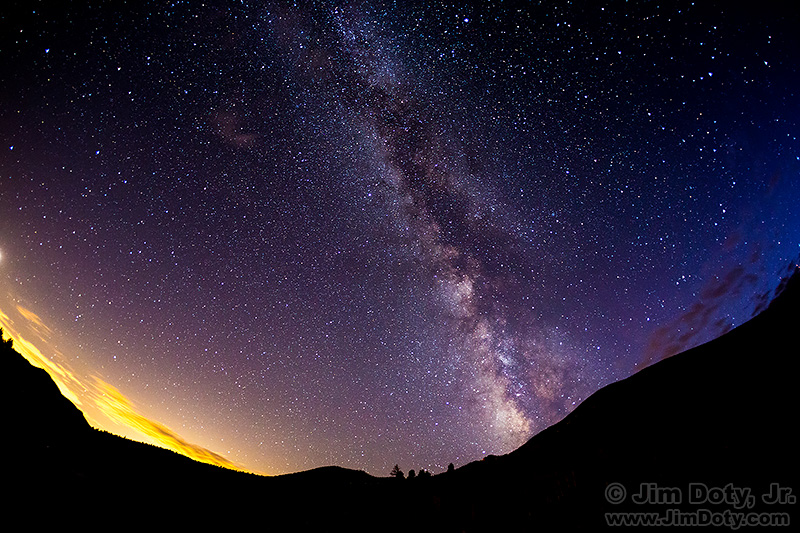
How to Photograph the Milky Way

The Milky Way from Horseshoe Park, Rocky Mountain National Park. The golden glow is from Denver city lights 70 miles away. The blue hues of late twilight are fading in the west. Click for a larger image.
On all of my weekend nature photography workshops, weather permitting I take everyone out once or twice to photograph the night sky. For those who haven’t tried it before, it kicks down the door to a whole new realm of photographic possibilities, and not just for night photography. Once a photographer tries one thing that is totally new and different and ends up with beautiful images they are proud of, they are ready to try all kinds of new things.
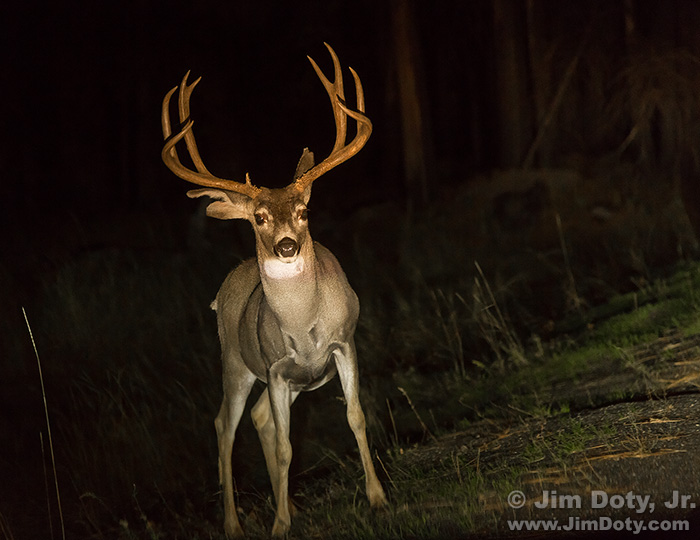
Deer in the Headlights – Literally
A “deer in the headlights look” is a common euphemism so I couldn’t resist taking some pictures when a deer was literally in my headlights. I was driving around Yosemite Valley taking pictures in the moonlight when I came upon two bucks browsing on the side of the road.
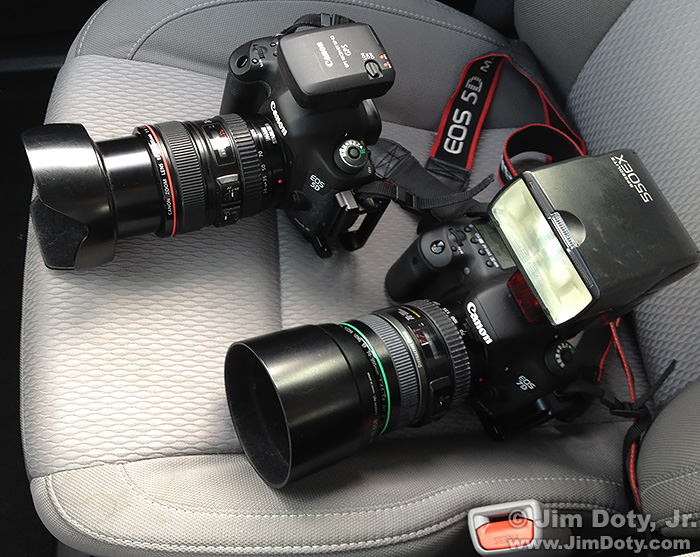
In a Photo Rich Environment: Be Prepared

Front seat camera gear. Canon 5D Mark III with Canon EF 24-105mm f/4 lens. Canon 7D Mark II with Canon EF 70-300mm f/4.5-5.6 DO IS lens.
You probably recognize the scout motto: “Be Prepared!” It also applies to photography. When I am in a photo rich environment, especially if there is a possibility of seeing wildlife, I usually have two cameras and lenses on the front seat next to me, all ready to go.
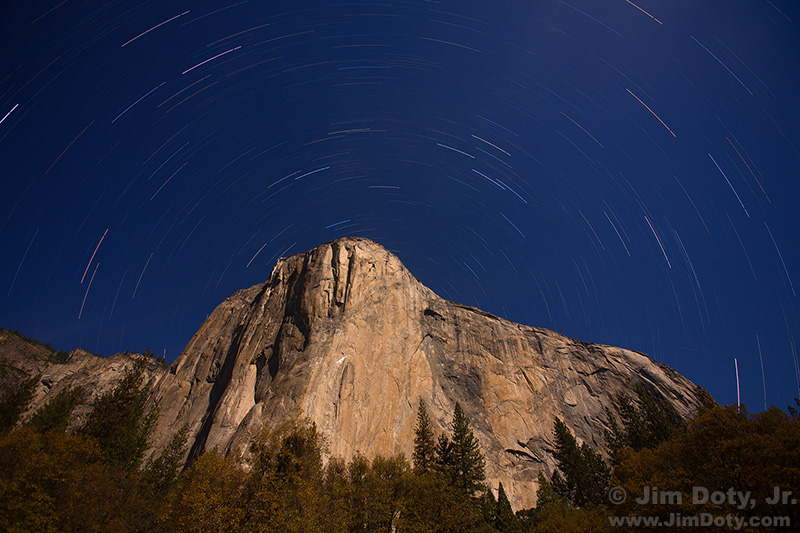
POTD: Stars Trails Over El Capitan

Stars over El Capitan with climbers on the granite cliffs. Yosemite Valley. This is a stacked image combing 8 separate exposures. Click to see a larger version.
El Capitan is a splendid sight in Yosemite Valley. Small wonder that for decades photographers have been showing up in droves to photographic the iconic granite cliffs. It is the largest block of exposed granite on our planet.
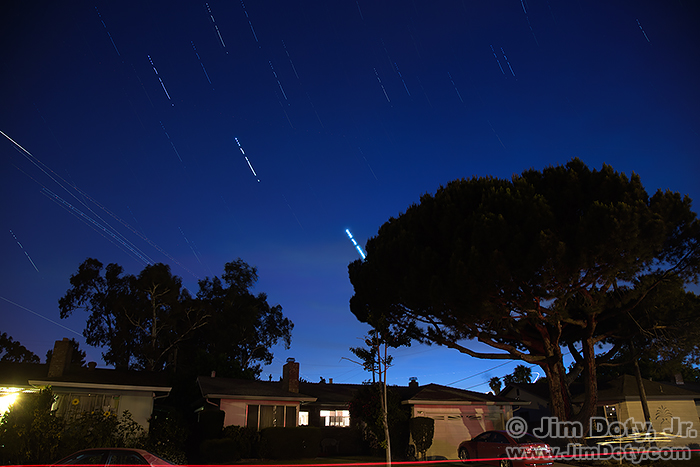
How to Create a Stacked Image of the Night Sky

Venus, Jupiter, stars, and airplane lights. Fremont, California. 27 separate images stacked together. Click to see a larger version.
It is a handy thing to know how to stack multiple night sky images into one photo. It allows you to create one stacked image covering a long period of time (using multiple photos) when it is not possible to make one long exposure of the night sky. What is a stacked image? Several images taken over a period of time which are combined to create one image fro the whole time period. This tutorial will show you how to create one.
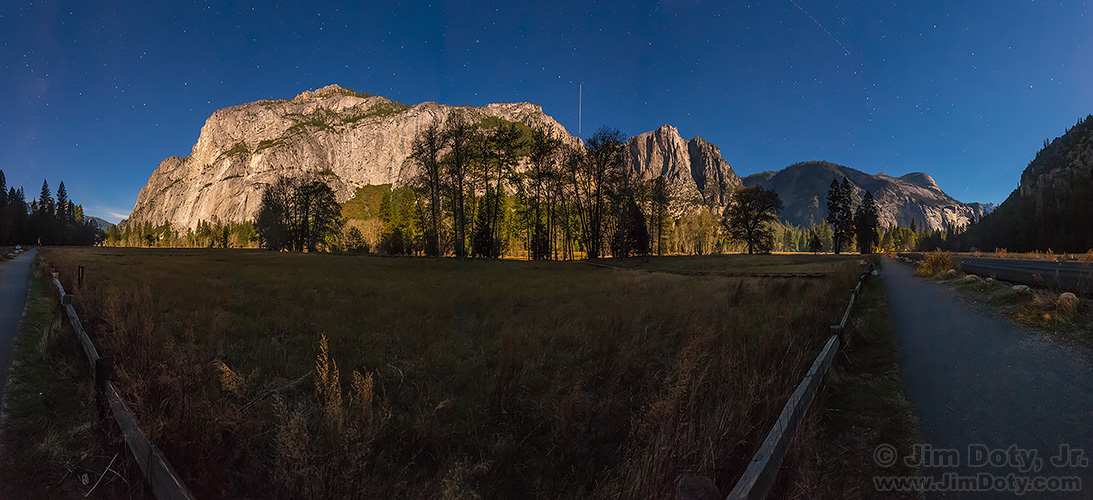
Panorama: Yosemite Valley in the Moonlight

Yosemite Valley at Night with Eagle Peak, Yosemite Point, and North Dome. The vertical light near the center is one of two planes that ended up in this image. Click to see a larger version.
Night photography has its own unique charms, whether it is a dark night with no moon and thousands of crystal clear stars, or with plenty of moonlight which (if you choose) you can turn night into day. And it isn’t all that complicated to do. With the addition of the right gear, you can turn your night time vista into a panoramic photo.
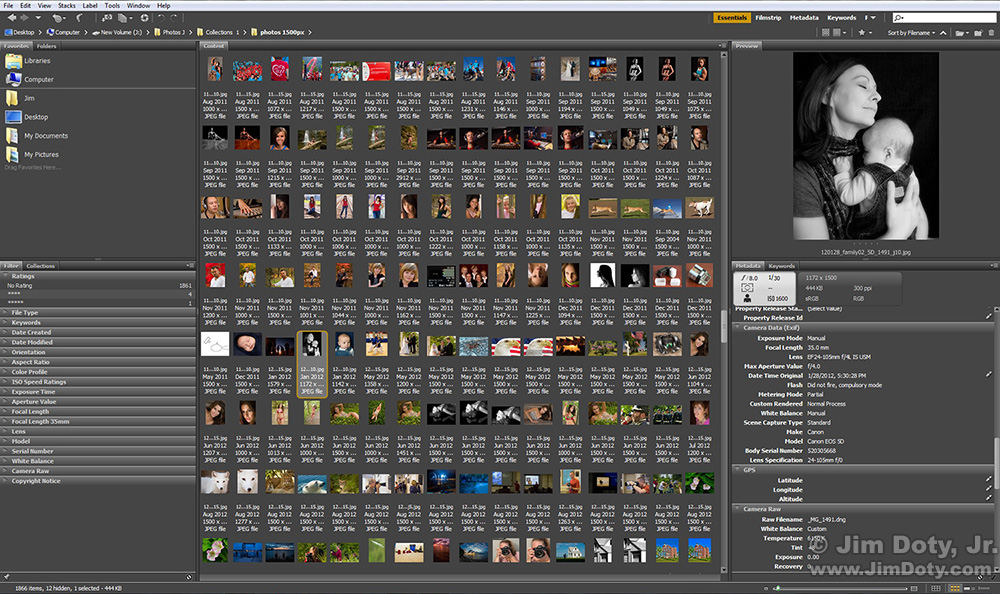
Preferences Part Two: Shutter Speeds and ISO Settings

Folder opened with Adobe Bridge. You are looking at 128 images out of over 1800 images in the folder. Click to see a larger version.
I was asked recently if I have a favorite focal length, lens, or aperture setting (see Preferences Part One). And I have also been asked if I have favorite shutter speeds and ISO Settings. So I decided to open a folder with over 1800 of my images (a little of everything) and take a look at my shooting preferences from a statistical point of view. I chose a folder that has a wide variety of subject matter and a high number of images. I used Adobe Bridge for the way it gathers metadata statistics (see the prior article).
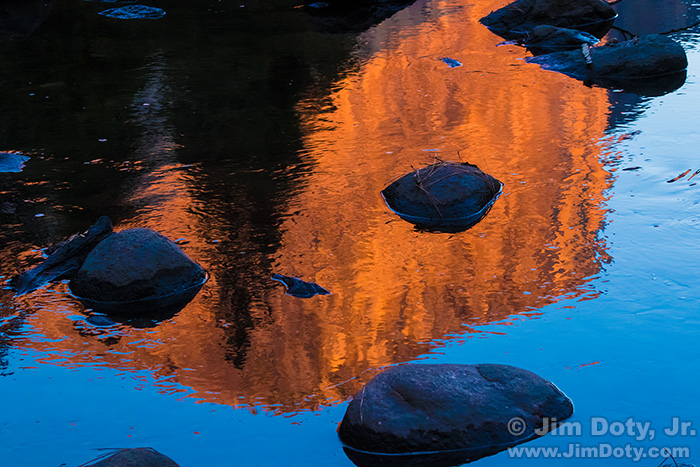
POTD: El Capitan Reflection
With one camera on a tripod taking a series of aligned images of Gates of the Valley (see my last article) in the changing light, I was using my other camera with a longer lens to capture different areas of the overall scene.