A Quick “Sunny f16” Summary
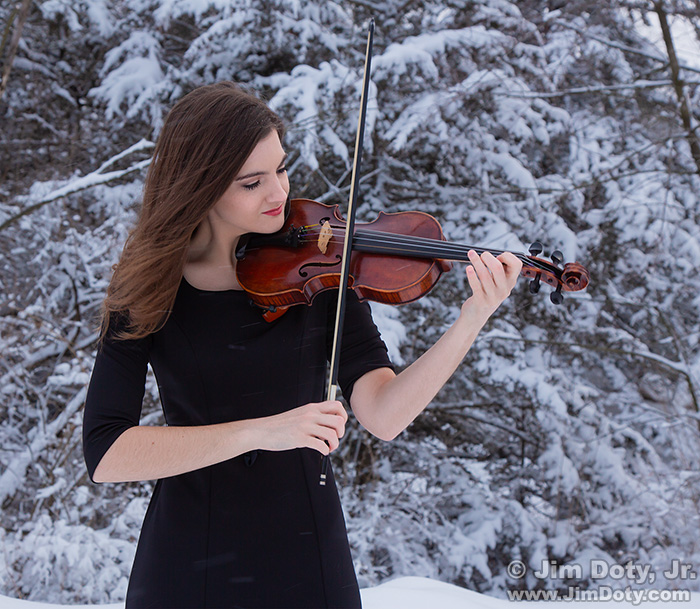
When the Sunny f16 rule applies, you don’t need a camera meter to get the right exposure. As long as the sun is high in the sky and is not being obscured by clouds, haze, smoke, dust, or other particulates in the air, it is a constant light source. That is why the Sunny f16 rule works in spring, summer, fall, and also winter as long as there isn’t any snow on the ground. (If there is snow on the ground, read this article.) The Sunny f16 rule is also known as Basic Daylight Exposure (BDE) and the “fig” rule because f16 hand written looks like the word fig. It is pretty simple.