

Greater Prairie Chickens fighting. The GPS information is still in this digital file.
When you click the shutter to create a photo, almost all smart phones and many other cameras add your GPS location to the photo you just created. The good thing about that is you can go back to your photos later and look up the GPS locations of your photos.
Why Should You Remove GPS Information?
When you post photos online with GPS data intact, other people can have the fun of looking up the locations of your photos. For most landscape and nature photographs that is fine. But before you post photos online, safety and security experts recommend you remove the GPS information from any photos taken in your home, the homes of your relatives, and your place of work. So before you post that adorable photo of your children or grandchildren playing in the back yard, remove the GPS information from the version of the photo you post online.
WARNING
Once you remove the GPS data from a photo, you can’t go back and re-add the information. It is gone. If you want two versions of a photo, one with GPS data and one without GPS data, make a copy of the original photo first. Name the photos so you know which one has the GPS info and which one won’t after you go through the removal process.
There is an exception. If you took two photos in the same location and removed the GPS data from one of them, you can use Adobe Bridge to copy the GPS location from one photo and put it back in the other.
Removing GPS Information Using Windows Computers
The steps are simple. I will use the same prairie chicken photo that I used February 26. Remember, once you do this the GPS information is gone for good.
Drop down menu when you right click a photo.
When you right click on a photo you get a drop down window. Click Properties.
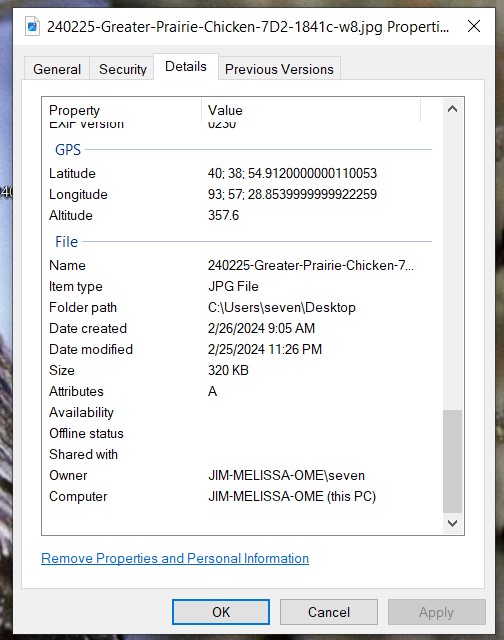
Properties window with Details selected.
When the properties window opens, choose the Details tab at the top. Scroll down until you find the GPS category. You will see the latitude, longitude, and altitude information. If you don’t see a GPS category, there is no GPS information embedded in your photo. If you do see GPS information, click “Remove Properties and Personal Information” at the bottom of the window.
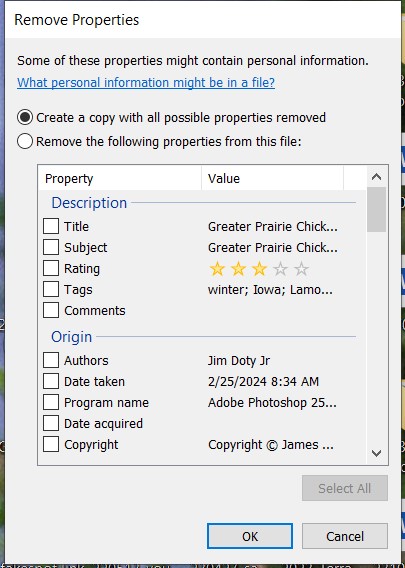
Remove Properties Window
A new Remove Properties window will open. You have two choices. To remove as much metadata as possible, click the circle in front of “Create a copy with all possible properties removed”. Then click OK at the bottom and all the properties that can be removed will be removed. Remember, this can’t be undone.
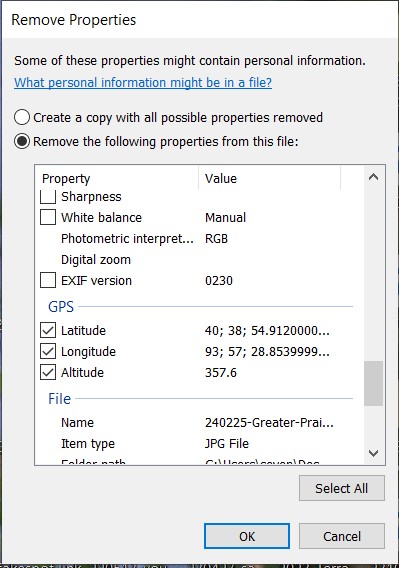
Remove some properties option.
If you only want to remove the GPS information, and maybe some other select data, click the circle in front of “Remove the following properties from this file.” Then scroll down until you find the GPS information and check the boxes in front of Latitude, Longitude, and Altitude. If there is other information you want to remove, check their boxes too. Then click ok at the bottom and all of the GPS info will be removed, along with anything else you checked..
Removing GPS Information Using Apple Computers
This is from Petapixel.
“If you’re using Mac OS X Yosemite, your Preview app has some new EXIF scrubbing capabilities. Simply open up your photo in Preview, go to Tools in your menu bar and select Show Inspector, hit the (i) icon for the info panel, select the GPS sub tab, and you’ll see a “Remove Location Info” button. Hit that, save your photo, and you’re ready for location-free uploading.”
Note: This process does not work with my 10 year old Mac. If you have an older Mac, see the next section.
Removing (Changing) GPS Information Using Adobe Bridge with Windows and Apple Computers
Note the WARNING above. If you are going to keep the GPS data in the original photo or photos, I would suggest you put the online versions in a different folder and alter the name of the files so you know which are original and which are photos with the GPS data removed for online use.
Use Adobe Bridge to navigate to the folder with the photo from which you want to remove the GPS information. Select the photo for GPS data removal.
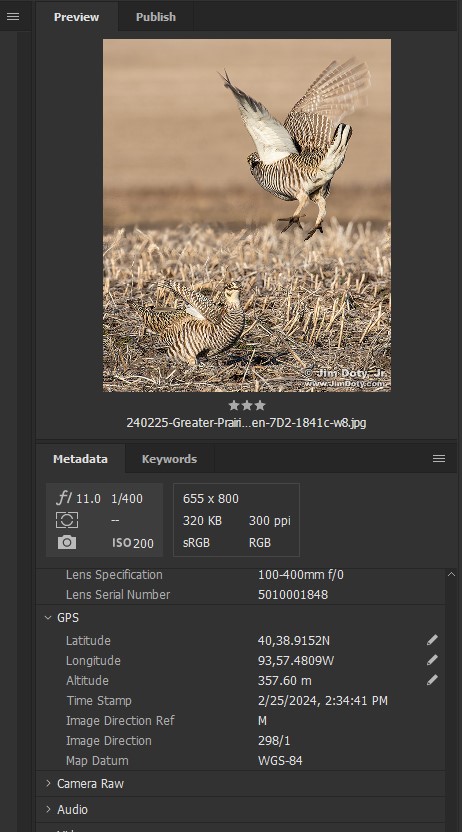
Photo selected in Adobe Bridge, right side column.
On the right side of Adobe Bridge software, under the thumbnail photo, choose Metadata. Scroll down until you get to the GPS information.
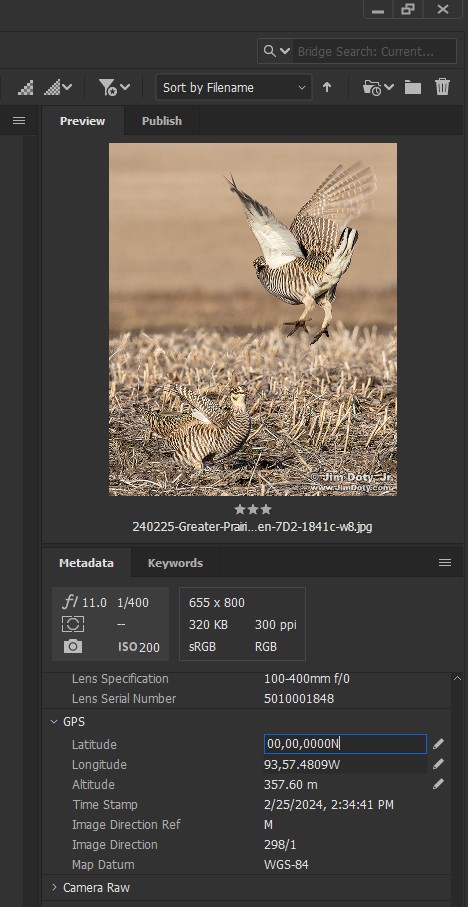
Metadata Panel, GPS Information, Latitude.
Click the edit pencil to the right of the Latitude box. Replace the numbers in the box with the following: 00,00,0000N (it must be that exact format). Then click the edit pencil again. Your entry will change to 0,0S. That is ok.
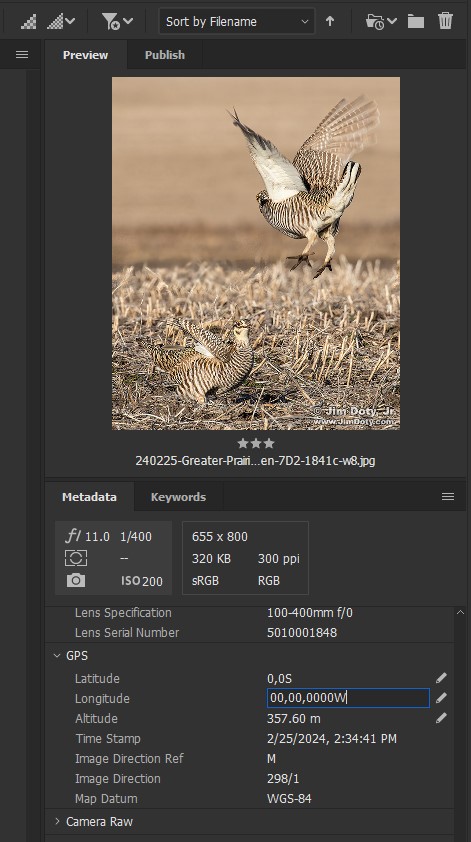
Metadata Panel, GPS Information, Longitude
Click the edit pencil to the right of the Longitude box. Replace the numbers in the box with the following: 00,00,0000W. Then click the edit pencil again. Your entry will change to 0,0W. That is ok.
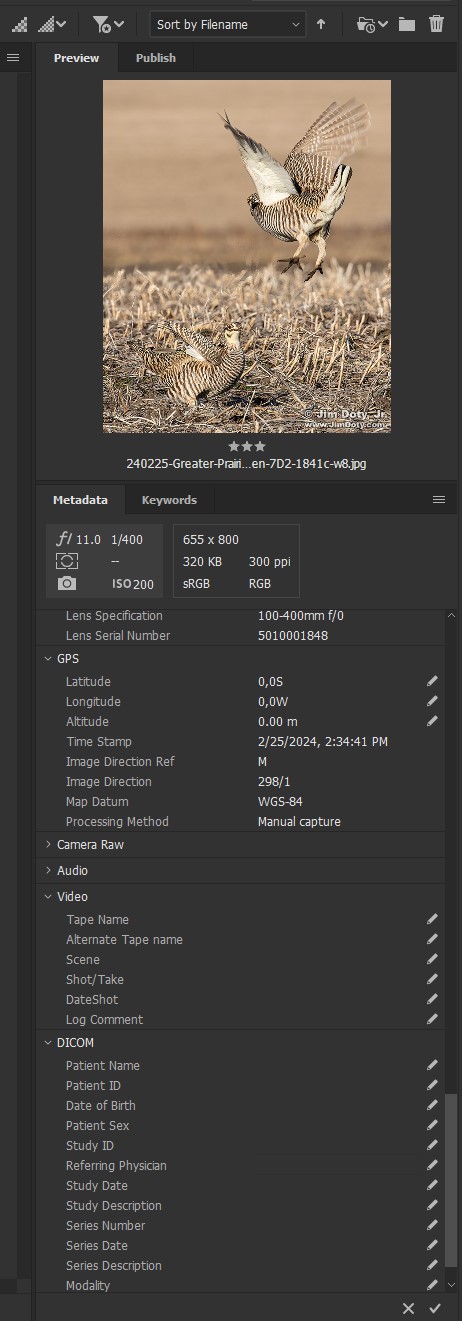
Metadata Panel, GPS Information, Altitude
Next, click the edit pencil and change the altitude to 0.00. At the bottom right corner of the Metadata Panel, mouse over the check mark. The word Apply will appear. Click the check mark. The GPS information is now gone.

Greater Prairie Chickens fighting. GPS values have been changed to zero.
This is the same photo that I used in the February 26 article on using an EXIF Viewer (first link below). I used Adobe Bridge to change the GPS values. If you try an EXIF Viewer on this version of the photo you will see that the GPS latitude and longitude have been changed to 0°.
Removing GPS Data from the Photos on Your iPhone
Much of the advice you read online will not work. If you want to remove the GPS data from a photo on your iPhone before you post it online, read the first few paragraphs of the article at the first link below.
Link
Things That Don’t Work: The Advice on Removing GPS Information from the Photos on Your iPhone – And some advice on what does work.
How To Use an EXIF Viewer to Find the Location of an Online Photo
“How To” Series: Using GPS in Photography