I visited my two sons over Memorial Day weekend, and coincidentally, both of them have spiders living in their homes (with their blessings).
Category Archives: Using Equipment
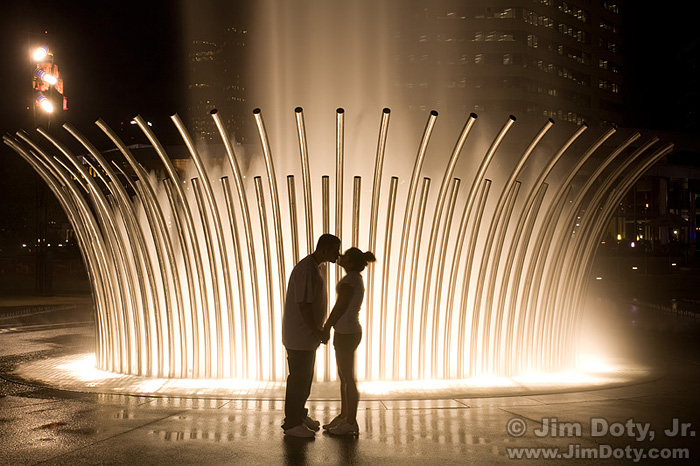
Fountain Kiss, Bicentennial Park
I was working on my last photo of the day for the “Picture Today, Inspire Tomorrow” project on May 15 at ADAY.org (more info here). When I planned my day, I wanted to end up at the fountain at the new Bicentennial Park in Columbus, Ohio. It is a great place to take pictures. As I visualized the image ahead of time, children would be playing at the fountain, creating blurry silhouettes. I already have a “children in the fountain” photo in my files, but all photos had to be taken on May 15.
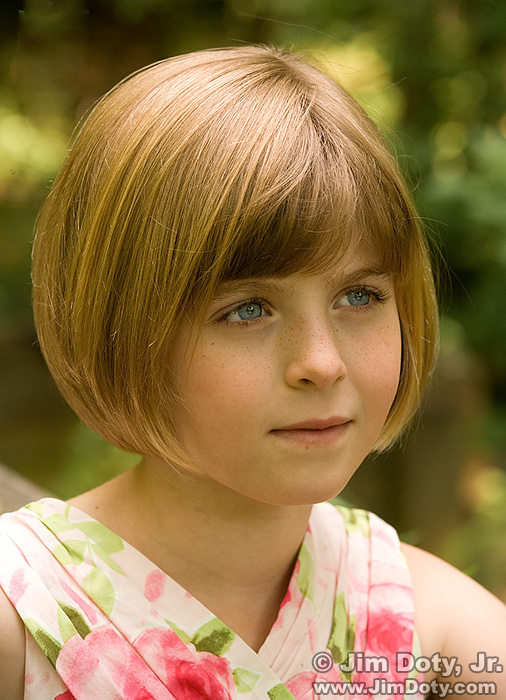
Portrait for “Picture Today, Inspire Tomorrow”
May 15 was “Picture Today, Inspire Tomorrow” day. All around the world people were invited to take pictures of their day and upload them to ADAY.org. All photos had to be taken between 12:01 am and 11:59 pm local time. Uploads were limited to a maximum of 10 photos.
Photography in Arches National Park
Arches National Park is an iconic destination for both tourists and photographers. It is one of the more spectacular locations in North America with a wealth of photographic possibilities in Arches and other nearby parks.
POTD: Golden Mantled Ground Squirrel
One way to make your subject “pop” is to isolate it against a soft blurry background.
Lens Apertures and Depth of Field
One of the wonders of exposure is that dozens of aperture, shutter speed, and ISO combinations can provide exactly the same exposure (the overall lightness or darkness of an image), but very different artistic “looks”. Experienced photographers know which exposure combination to choose to get the image they want. Inexperienced photographers who leave the camera on program mode are turning all of the artistic decisions over to a computer chip.
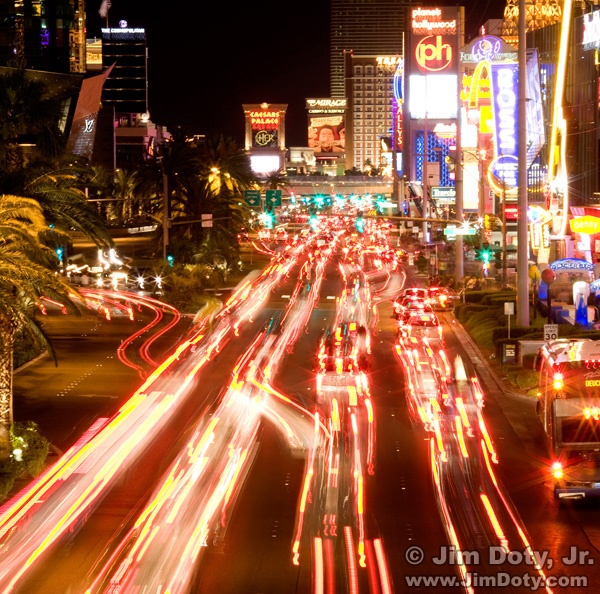
POTD: “The Strip”, Las Vegas
With long shutter speeds, you can capture the passage of time in a way that your “instant snapshot eyes” can’t. Your eyes and brain are capturing a rapid series of individual images and turning them into motion, while a still camera can capture one very long image. You can create images with a camera that your unaided eyes can’t create.
Portraits: A Change in Perspective
When shooting portraits, turning the face upside down to change the usual perspective can give the face a dramatic new look. We are used to seeing people right side up with the eyes higher in the photo than the nose, lips and chin. Putting the eyes at the bottom of the photo changes the look of the face. Most people are surprised at the difference in how they look when photographed from this angle.
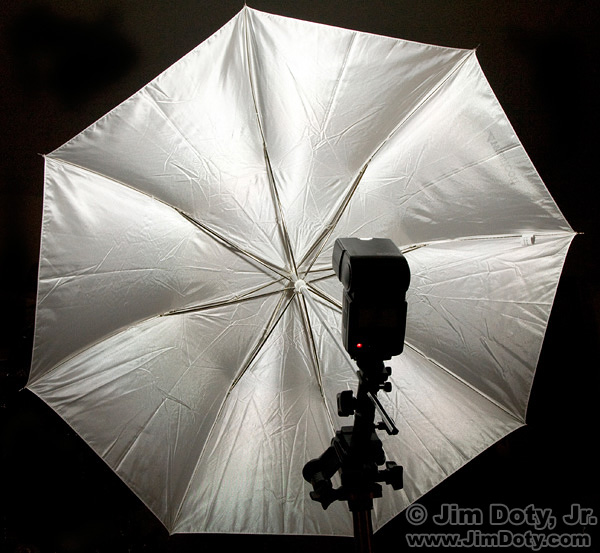
Light Modifiers (Softeners) for Accessory Flashes
Photographers are always looking for ways to soften the light when doing portraits. The light from an accessory flash can be quite harsh so there are a wide range of modifiers to soften the light for more pleasing portraits. Here are my three favorites.
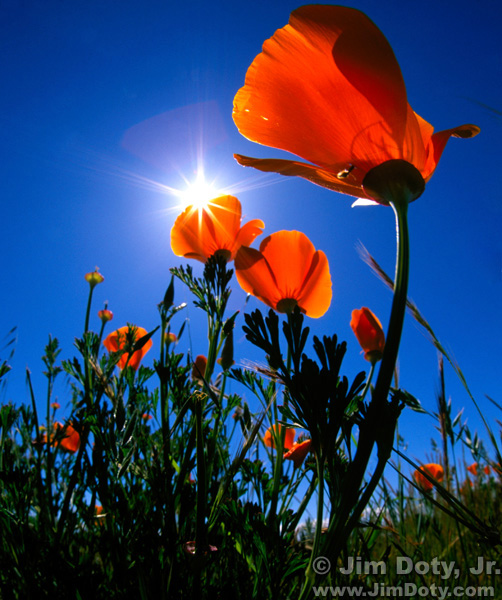
POTD: Poppies and Sunstar
Flowers photos are often taken from eye level (human eye level), but flowers usually look best when taken from the flower’s eye level. But some flowers, under the right conditions, look best when the camera is right on the ground and looking up.
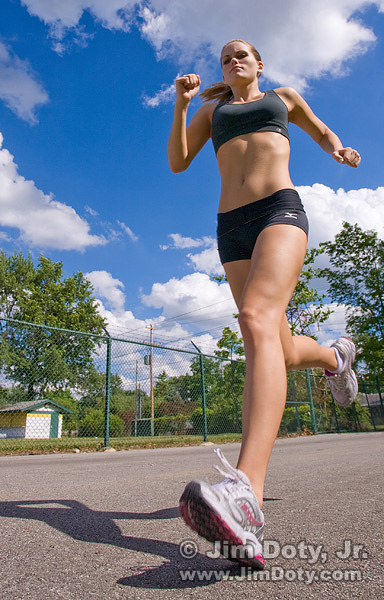
Put Your Camera On The Ground
Most photos are taken from eye level, so you can give your photos a dramatically different look by putting your camera on the ground.
POTD: Studio Portrait
It doesn’t take a lot of lights to create a portrait. The portrait above was created with two studio lights. This is how the photo was created.
Photo of the Day: Bryce Canyon at Sunrise
Bryce Canyon in southern Utah is one of the most spectacular places on the planet and I finally found a chance to stop there on a trip to California. It was late April and I was hoping for snow. I arrived about sunset (with no snow on the ground) and I had to leave the next morning after only a few hours of shooting time. Mother Nature must have smiled. There was a dusting of snow overnight.
Environmental Portraits and Off-Camera Flash, Part 3
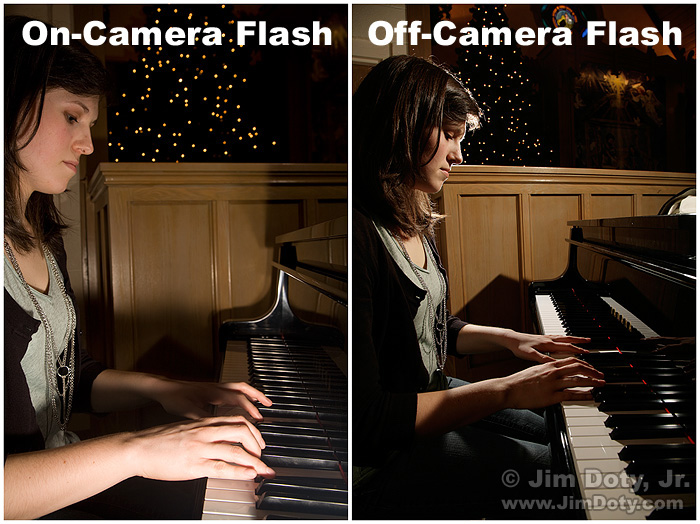
Off-camera flash can provide more pleasing light and a much more dramatic photograph than on-camera flash. Using two off-camera flash units provides even more dramatic lighting possibilities.
Environmental Portraits and Off-Camera Flash, Part 1
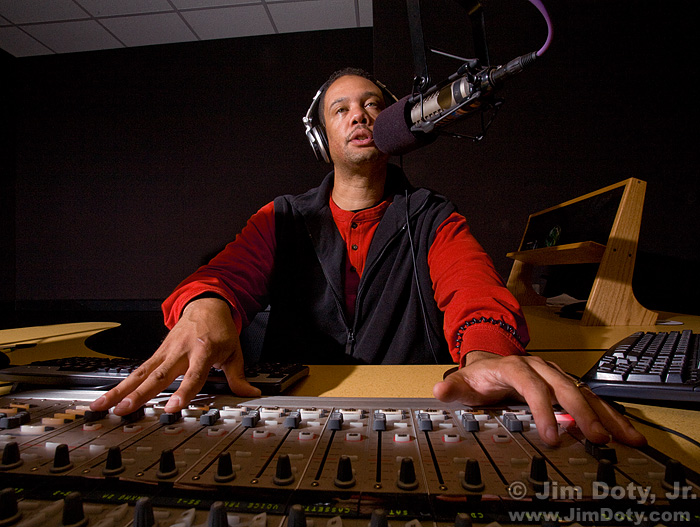
If I am using flash for an environmental portrait, I usually prefer having the flash off of the camera. In this portrait of Warren Stevens (program director and mid-day air personality at Magic 106.3 FM in Columbus), the flash is above Warren and to his right, providing a nice semi side-lit photograph. On camera flash is flat and even. Getting the flash off of the camera and moving it to the side provides more shape and texture to the subject.
Photo of the Day: Sarah
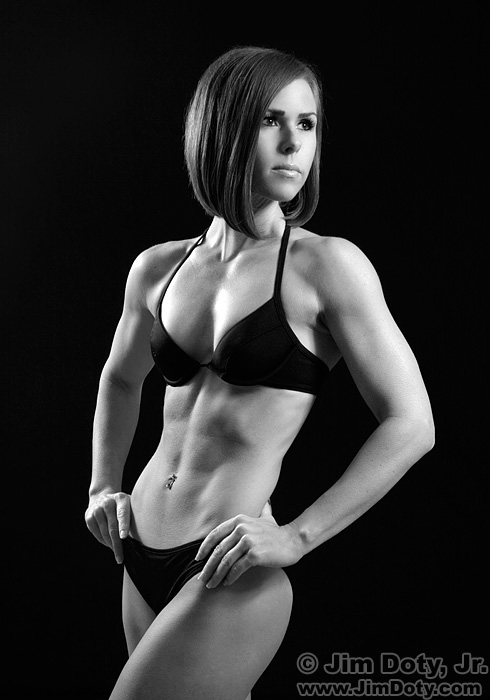
I’ve photographed people in a lot of different occupations, but this is the first time I’ve worked with a professional fitness trainer. Sarah Gearino (“Body Evolution by Sarah”) is taking on more clients and she wanted photos for her Web site (which is currently in the planning stages).
Matt Dirty! Matt Clean!
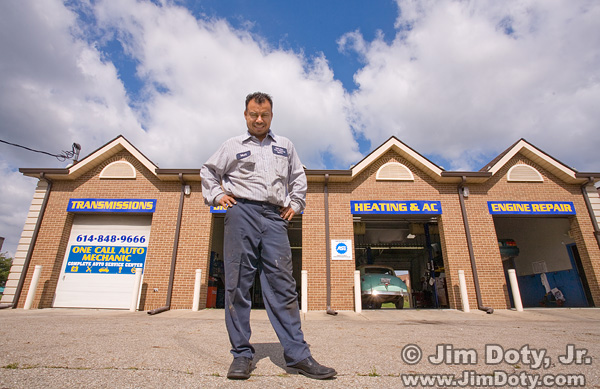
“Matt Dirty”, “Matt Clean” was Matt’s idea. He is the owner of One Call Auto Mechanic, and he asked me to do a set of “environmental portraits” of him at work (Matt Dirty), plus another set of portraits for his family (Matt Clean). In this post, I show you some of both, along with some photo tips and a few safety suggestions for this kind of shoot.
Photo of the Day: Tahitian Wave
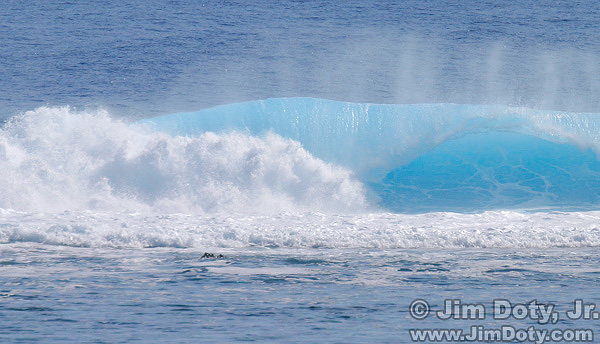
We were on the western shore of Tahiti Nui watching the the waves break on a reef, quite a ways from the beach. A strong wind was blowing from the beach out toward the waves, blowing a fine mist of water off the tops of the waves and out toward the Pacific. The waves themselves were a beautiful shade of blue and a nice contrast to the darker blue of the surrounding water. It was the blue of the waves and the fine mist blowing off the crest of the waves that attracted me to this scene.
Dog in Flight: Capturing Action
Capturing action is a matter of choosing the right shutter speed. You have a lot of options from a sharp subject against a blurred background to a sharp background with a blurred subject, or both blurred, or a sharp subject and a sharp background.
Take the Photo Anyway!
You have your photo all planned out long before you click the shutter, but the moment arrives and things don’t work out like you had envisioned them. What do you do? Maybe you should take the photo anyway.
Getting Maximum Sharpness
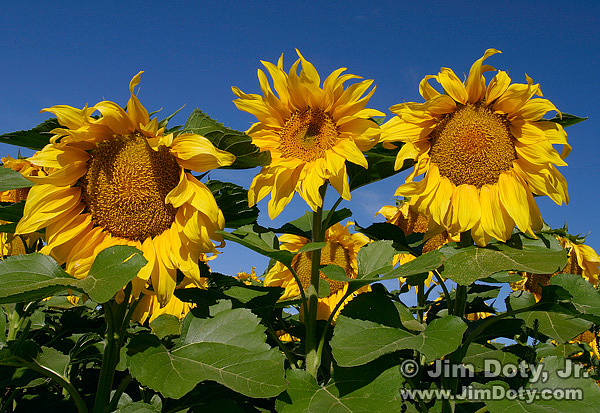
A lot of images fail because they just don’t look sharp. Of course there are times when you want a blurred photo, but most of the time photographers want part of their image (if not most of the image) to look sharp and crisp. The seeds in this sunflower photo are a good example of an image that asks to be sharp.
The RAW vs Jpeg Exposure Advantage
RAW files have a huge advantage over jpeg files when it comes to exposure latitude. With the same exact exposure, a RAW file can give you a good image while the jpeg file is a throwaway. Why is that? RAW files have a lot more exposure latitude than jpeg files. You can read all about it in The RAW vs Jpeg Exposure Advantage.
Can I Make Quality 8×10 Prints from my Digital Camera?
How big a print can you make from your digital camera and still have good image quality? That’s a common question. I received an e-mail today about camera file size and quality 8×10 inch prints. The question and my answer follow.
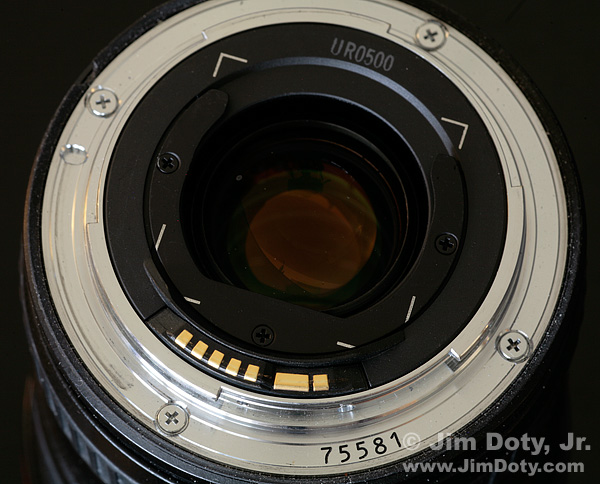
Help! I’m in Hawaii and My Lens Quit Working!
It is not a good thing to have your lens refuse to work when you are on the trip of a lifetime. It was a pretty desperate phone call from a good friend who was vacationing in Hawaii.
I went through all of the usual things to do that will usually bring a lens back to life. He tried them all and none of them worked.
What to Do When A Lens Quits Working
It is an unhappy thing when a lens quits working normally, or stops altogether, complete with some kind of error message on the camera body. The good news is that you can usually bring your lens back to life and it only takes a few seconds to a few minutes to do. Details are here.
Incident Light Metering on the Cheap
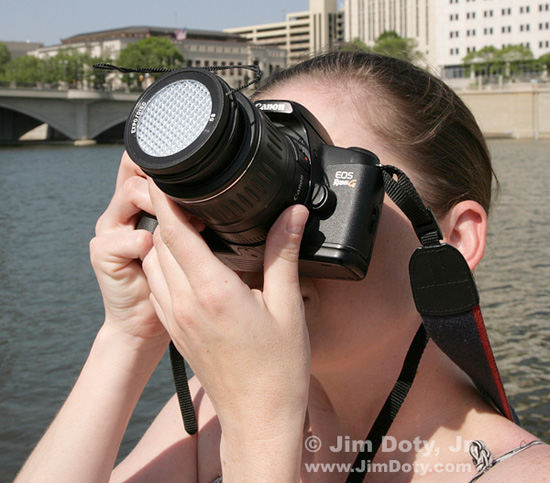
A simple $12 accessory will do most of the work of a $300 incident light meter. Hard to believe? Keep reading.
Choosing Photo Gear For Airline Travel
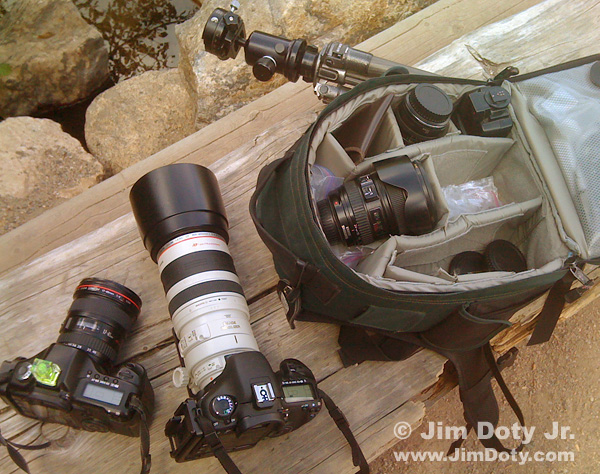
Traveling by plane severely limits the amount of camera equipment you can take with you. As lots of photographers will attest, take everything with you as carry-on gear, NOT in your checked luggage. The airlines will NOT reimburse you for lost or damaged photographic equipment (see my comments toward the end of this article). If your checked luggage goes astray, everything you need should be with you in your carry-on luggage. And you need a backup plan in case something quits working.
Turn Your Camera Into An Incident Light Meter
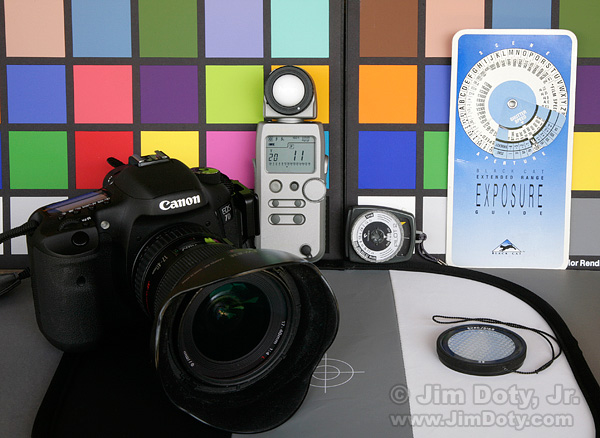
There are a lot of advantages to using an incident light meter, and you can read about them here. But what if you don’t have an incident light meter? Or you are packing light and don’t want to take your incident light meter with you? There are several less expensive alternatives.
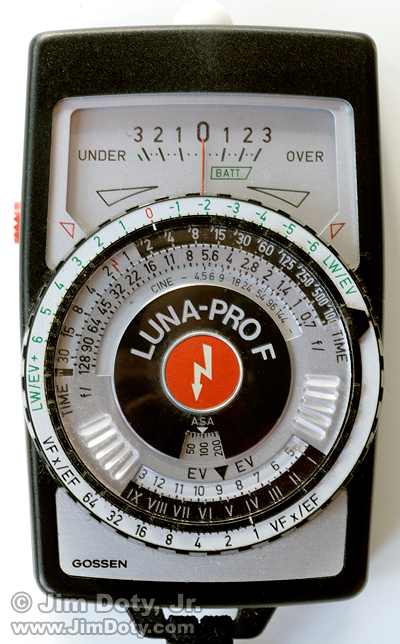
Simplify Your Life with an Incident Light Meter
There’s no question that in some complex metering situations, it can be tough to figure out the best exposure with the meter in your camera. An incident light meter can be quicker, faster, simpler, and more accurate in some of those same situations.
Using Your Camera’s Light Meter
Taking charge of exposure is one of the best indications someone is getting serious about the quality of their images. Learning the ins and outs of the camera’s reflected light metering system is a great way to start.

