
Kaylyn
Kaylyn is a regional director for Growing Hope Globally (see the third link below) and I was taking pictures of her addressing a local church group.
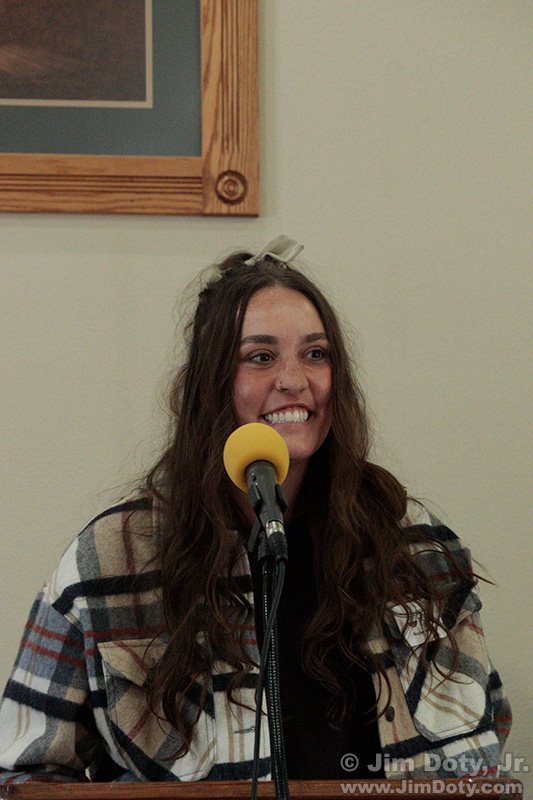
Kaylyn, Bloomington Community of Christ.
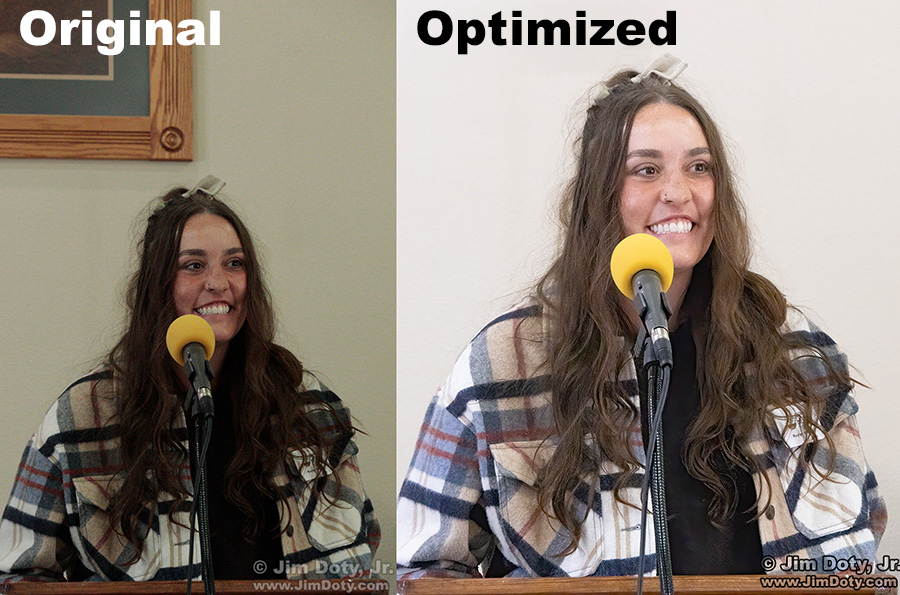
This is the original photo, right out of the camera and resized for the web. I color corrected the image due to the color cast of the light in the room.
Most artificial lights have a yellow, green, or yellow/green color cast of some sort. Your eyes/brain automatically compensates for the color cast (color temperature) of the lights in a room so things look normal. But your camera does not compensate, so for optimum colors you need to (1) change the white balance settings on your camera, or (2) set a custom white balance (see the second link below), or if that is not convenient, (3) do a color correction of the photos after the fact. I went with option 3.
Incidentally, smart phones try to auto-compensate for the light, with varying results, sometimes good, sometimes not so good. So smart phone photos may also need some color correction.
I opened this image in Adobe Bridge and used the Camera Raw Filter (Adobe Camera Raw) in Adobe Photoshop to color correct this photo.
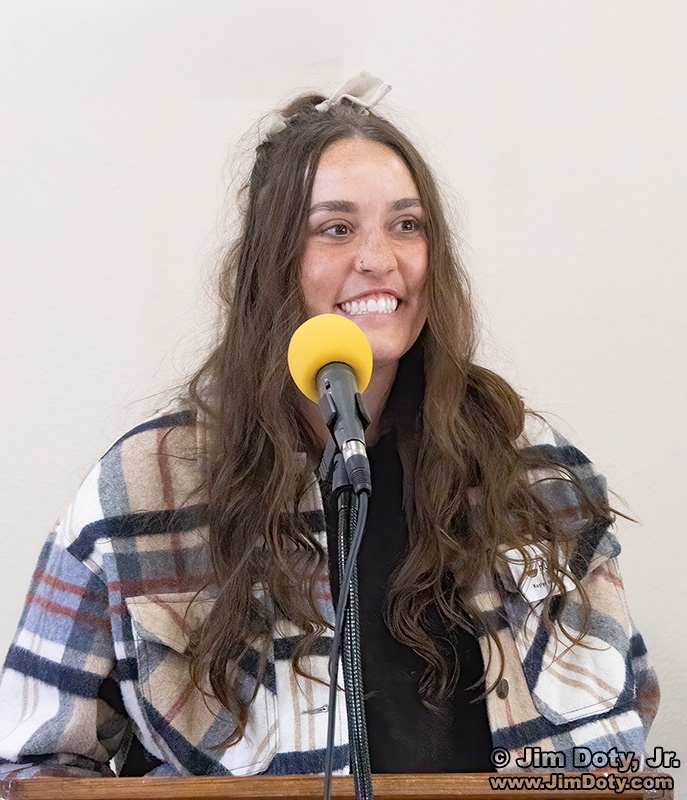
Kaylyn, Bloomington Community of Christ.
This is the result. This was a simple fix that took less than 60 seconds dragging a few sliders in ACR. I also cropped the image for a more pleasing composition without the distracting corner of a painting on the wall behind her.
For a tutorial in using ACR to color correct a photo, see the first link below.
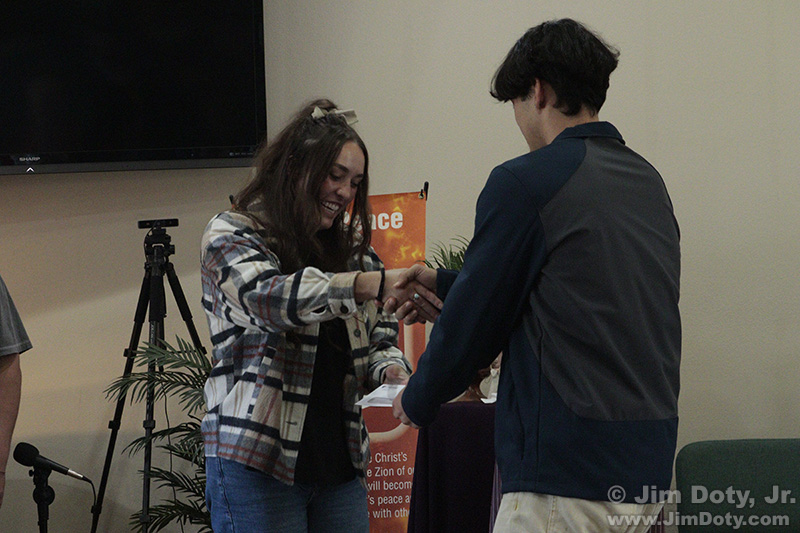
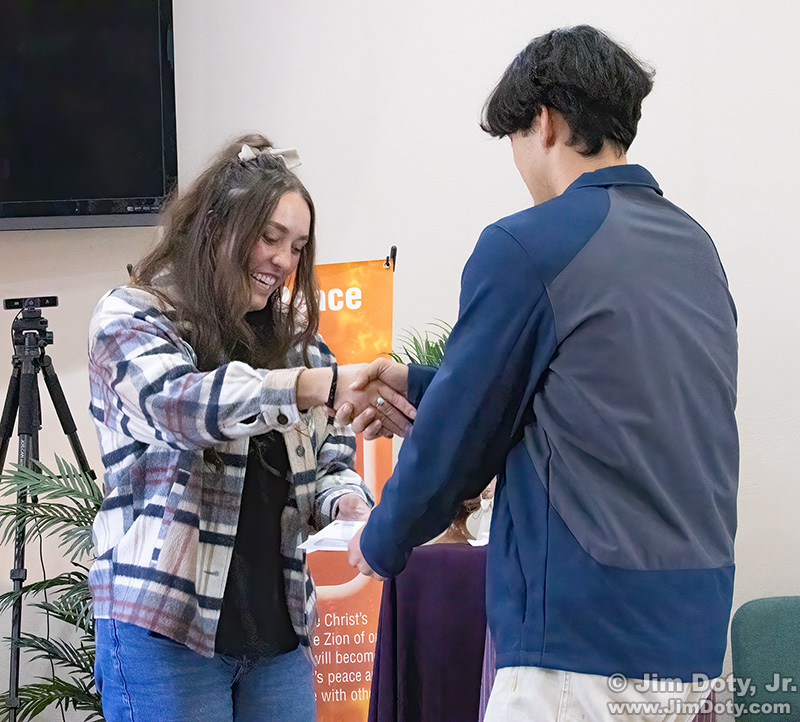
Kaylyn receives a check for Growing Hope Globally.
This is another right out of the camera photo.
Kaylyn receives a check for Growing Hope Globally.
This is the cropped and color corrected version.
Links
How To Optimize A Photo With Adobe Camera Raw
A Custom White Balance is the Key to Better, More Accurate Colors