

Before and After Setting A Custom White Balance
Setting a custom white balance is the key to better, more accurate colors. I took the photo on the left before setting a custom white balance. The lights in the room give everything a slight yellow-green color cast. Your eye-brain compensates for the color cast but your camera does not. I set a custom white balance on my camera and then took the picture on the right. The colors are now accurate and the photo looks much better as a result.
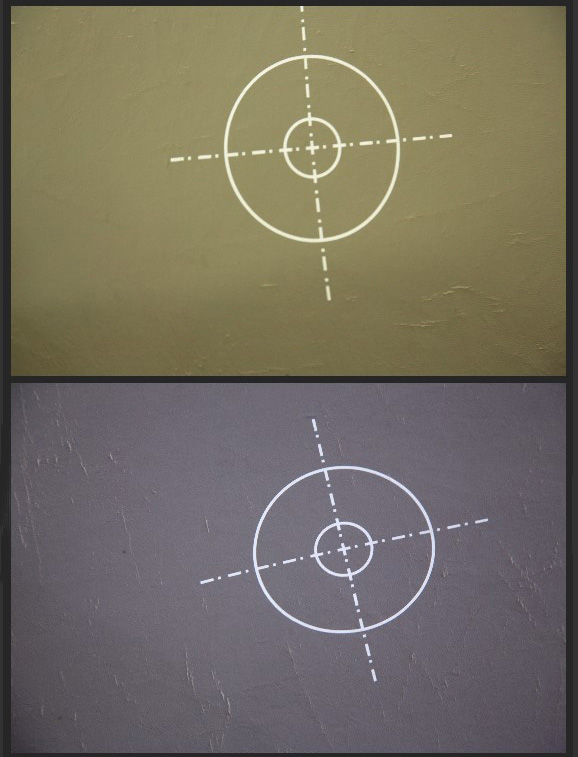
Gray card before (top) and after (bottom) setting a custom white balance.
To set a custom white balance, I took a collapsible 18% gray card out of my camera bag and took a picture of it. The photo of the gray card clearly shows the yellow-green color cast in the room. I told my camera to use the top photo to set a custom white balance. After the custom white balance was set, I took another photo (bottom) to make sure I did everything correctly. The photo of the gray card now looks gray, like it is supposed to. I took a second photo of the speaker (on the right in the photo at the top of this article.) Now I can take photos of anyone at the speakers podium and get accurate more pleasing colors.
As long as the light in the room doesn’t change, you don’t need to reset the custom white balance. You do it once and you are all set to go.
The light in this room is a combination of ceiling lights and light coming in from outside windows. If the light outside changes, like going from sunny to cloudy, that changes the color temperature of the light inside the room. Fortunately for me, the light outside usually doesn’t change outside during an hour long morning service. At night, there is no outside light coming in to this room, so the light in the room is much more yellowish. If I set a custom white balance in this room in the morning and then come back at night, I have to set a new custom white balance.
The process of setting a custom white balance is a little different with each brand of camera, but the principle is the same. Photograph a gray card (or something pure white), go into your camera’s menus system and do the rights steps to set a custom white balance, then re-photograph the gray card or white subject to make sure you did everything correctly. The whole process takes lees than 30 seconds.
This article takes you through the steps of setting a custom white balance with a Canon camera. Other brands of cameras should have a very similar process, with some minor variations due to your camera’s particular menu system.
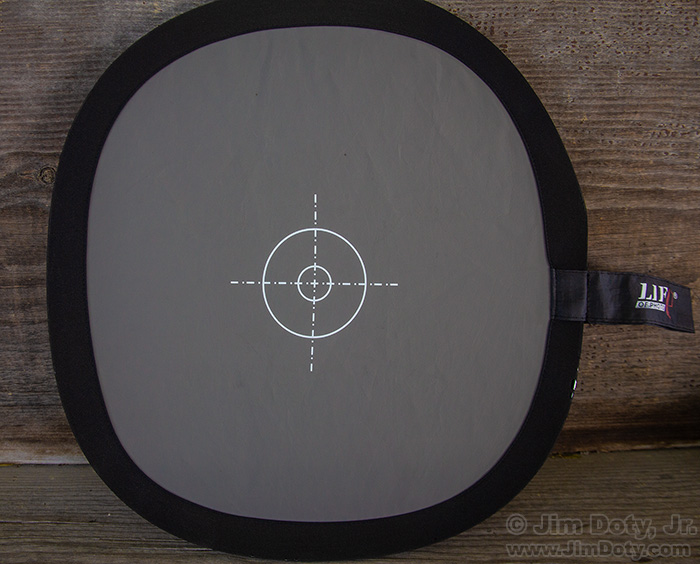
12 inch collapsible fabric 18% Gray Card
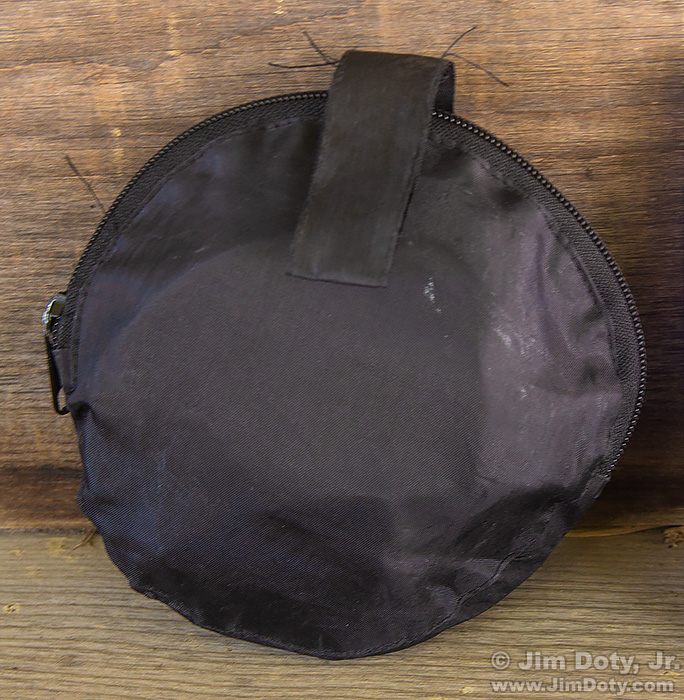
6 inch zippered pouch with the collapsible gray card inside.
Links
How To Set A Custom White Balance on Your Digital Camera
The “Custom White Balance” Series – all the ins and outs on when, why, and how to set a custom white balance