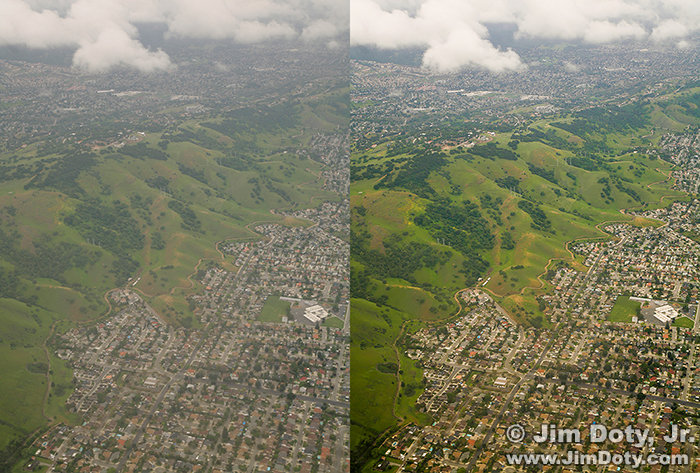
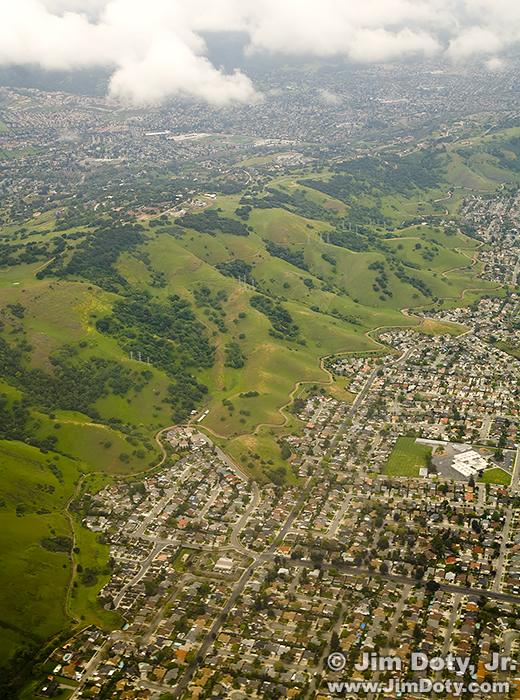
Thanks to atmospheric haze, aerial photos usually don’t look very good right out of the camera. The fastest, simplest, and best way to fix your aerial photos is with Adobe Camera Raw (ACR). If you don’t have ACR there are other good options in your favorite image editing software. They won’t be as fast but they will get the job done. This article shows you how.
Software Choices
If you have the complete version of Adobe Camera Raw (which comes with Adobe Photoshop and Adobe Lightroom), you should go to this article and read it first.
If you have the stripped down version of Adobe Camera Raw that comes with Adobe Photoshop Elements, you should keep on reading and pay special attention to the Adobe Camera Raw/Elements section below.
If your favorite image editing software isn’t from Adobe, keep on reading.
When you are shooting from a commercial jet you are usually 6 to 7 miles above the ground. So you are shooting through 6 to 7 miles of atmospheric haze which reduces contrast and degrades the color. Your primary tools to fix this are Levels, Curves, and Saturation/Vibrance, all of which come with most good image editing software.
Levels
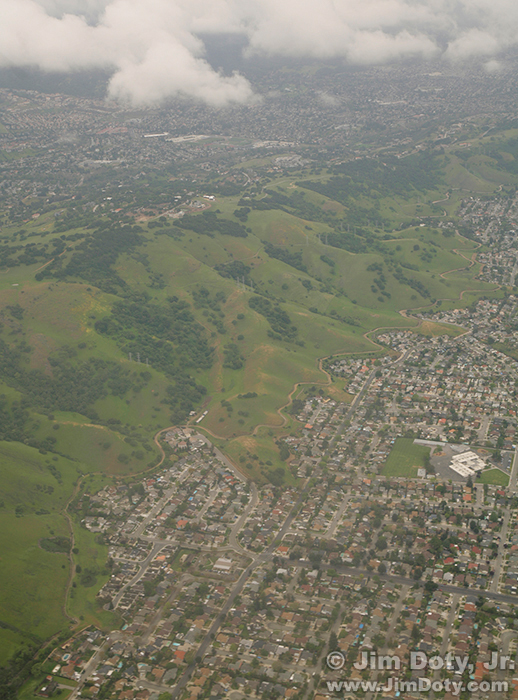
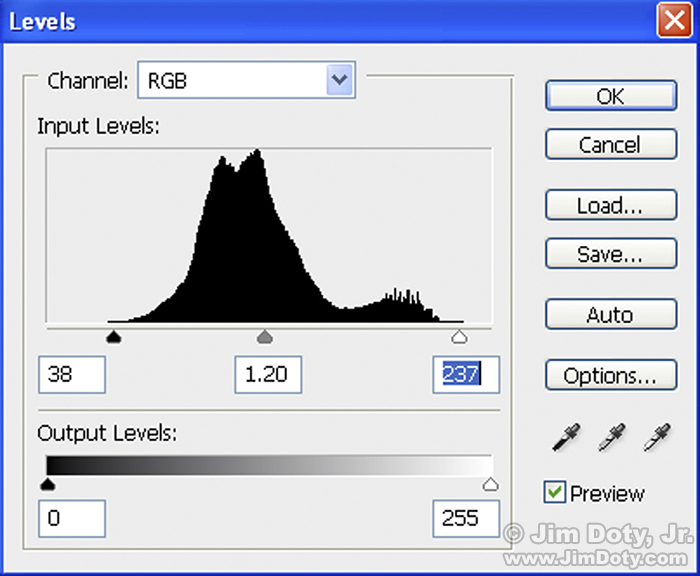
Even though this is a relatively low altitude photo it still suffers from atmospheric haze. The simplest tool of choice is Levels. Open your image in your favorite image editing software and create a Levels Adjustment Layer. That way you will be doing non-destructive image processing. If you are new to Levels, read this article.
Grab the white point slider and drag it to the left until it is close to the right edge of the “pixel mountain” in the histogram. Then grab the black point slider and drag it to the left until it is close to the left edge of the pixel mountain in the histogram. After I was done making adjustments my new white point was 237 and my new black point was 38. These numbers will be different for every photo. Just move both sliders until things look as good as they can get without the image quality deteriorating. You might need to move the gamma (gray) slider to the left or right if it helps the image.
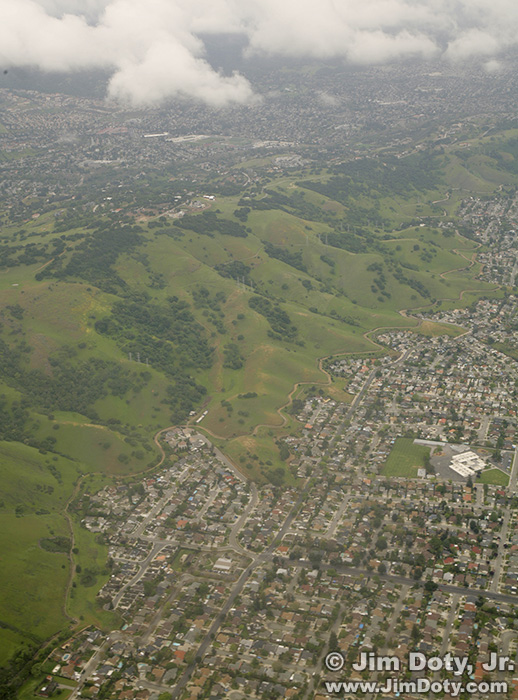
After the above adjustments in Levels which took about 30 seconds, my image has improved.
Curves
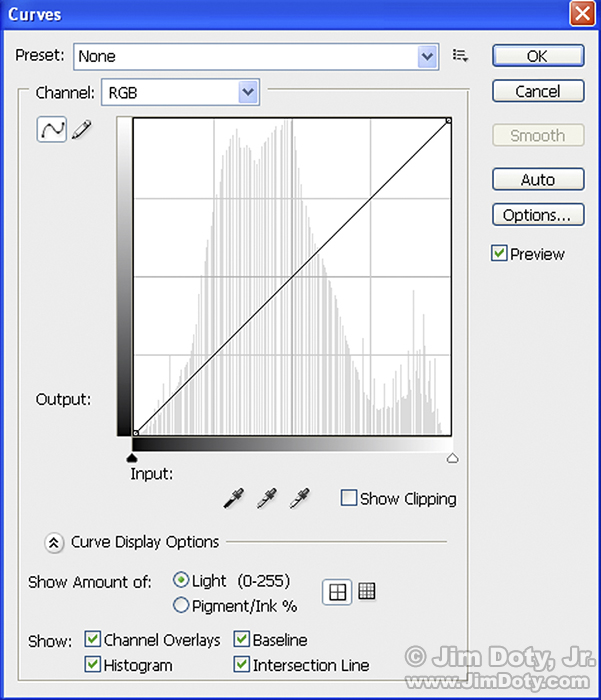
The next step is to open a Curves Adjustment Layer. This is what the Curves dialog box looks like before you make any changes to the image.
Before you make any changes make sure Channels is set to RGB, not red, green, or blue. The straight line running diagonally across the box is what you grab and move to make changes in your image. The gray histogram underneath the line will change as you make changes to the image. If you grab the line in the middle and drag it up and to the left, the image will get lighter. Grab it in the middle and move it down and to the right, the image will get darker. This is similar to dragging the gamma slider to the left and right in Levels.
There are little circles at both ends of the line. If you grab the upper right circle and drag it across the box to the left, you are changing the white point, much like moving the white point triangle in Levels. If you grab the lower left circle and move it across the box to the right, you are changing the black point, just like the black point slider in Levels.
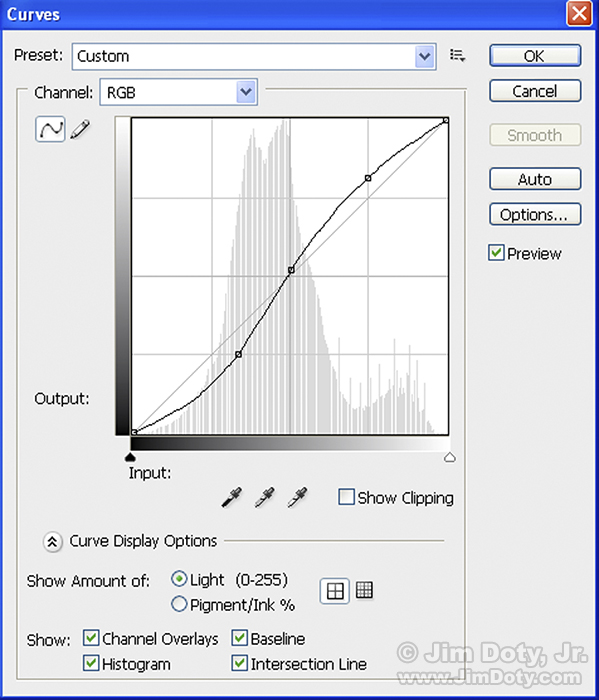
The cool thing about curves, which is what we are about to do, is to click on the line and create anchor points, so that part of the line doesn’t move. Then you can drag the other parts of the line. Then you can shape the line in the dialog box into an S curve to simulate the typical “characteristic curve†of film. The characteristic curve for any given type of film is a graph of the film’s sensitivity to light. When you create a similar curve in the Curves dialog box, you gives your digital photo the same contrasty look as film. That is exactly what you want to do with the flight photo.
Click on the center of the line to create an anchor point. Then grab the upper part of the line and drag it up. Then grab the lower part of the line and drag it down. The farther you drag the lines, the more contrasty your image will be. The dialog box immediately above is what I needed up with after making changes. On your images the characteristic curve in the dialog box will vary from being more dramatic to less dramatic. Each image is a little different and requires a different amount of adjustment.
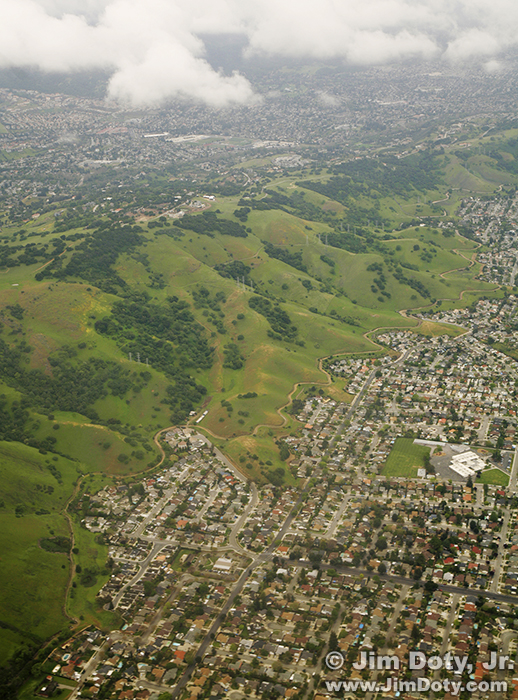
This is the flight image after the Curves adjustment. So there are now two adjustment layers for this image, the one of Levels, and the additional adjustment for Curves. The image has again been improved by the additional gain in contrast. At this point the image is pretty much good to go.
A couple more thoughts about Curves. Just like Levels, you can select the individual color channels in Curves, and change them for the look you want. Open an image, create a Curves Adjustment Layer, change the channel from RGB to one of the individual colors and experiment.
If you want to go crazy with Curves and create a psychedelic look, move the anchor circles at the end of the line to different locations along the side of the box, and then try dragging the line into all kinds of unusual curves.
Saturation
For photos taken during really high altitude flights, your image may still be a bit bland, even after the Levels and Curves adjustments. If you want a little more color punch in one of your images you can add a Hue-Saturation Adjustment Layer and boost the Saturation a bit.
Adobe Camera Raw in Adobe Photoshop Elements
If you have Adobe software you can skip all or most of the above steps and do everything in Adobe Camera Raw (ACR). It will be much faster. If you are using Adobe Photoshop Elements you will be using the Basic panel which is the same as the Basic panel in Photoshop and Lightroom.
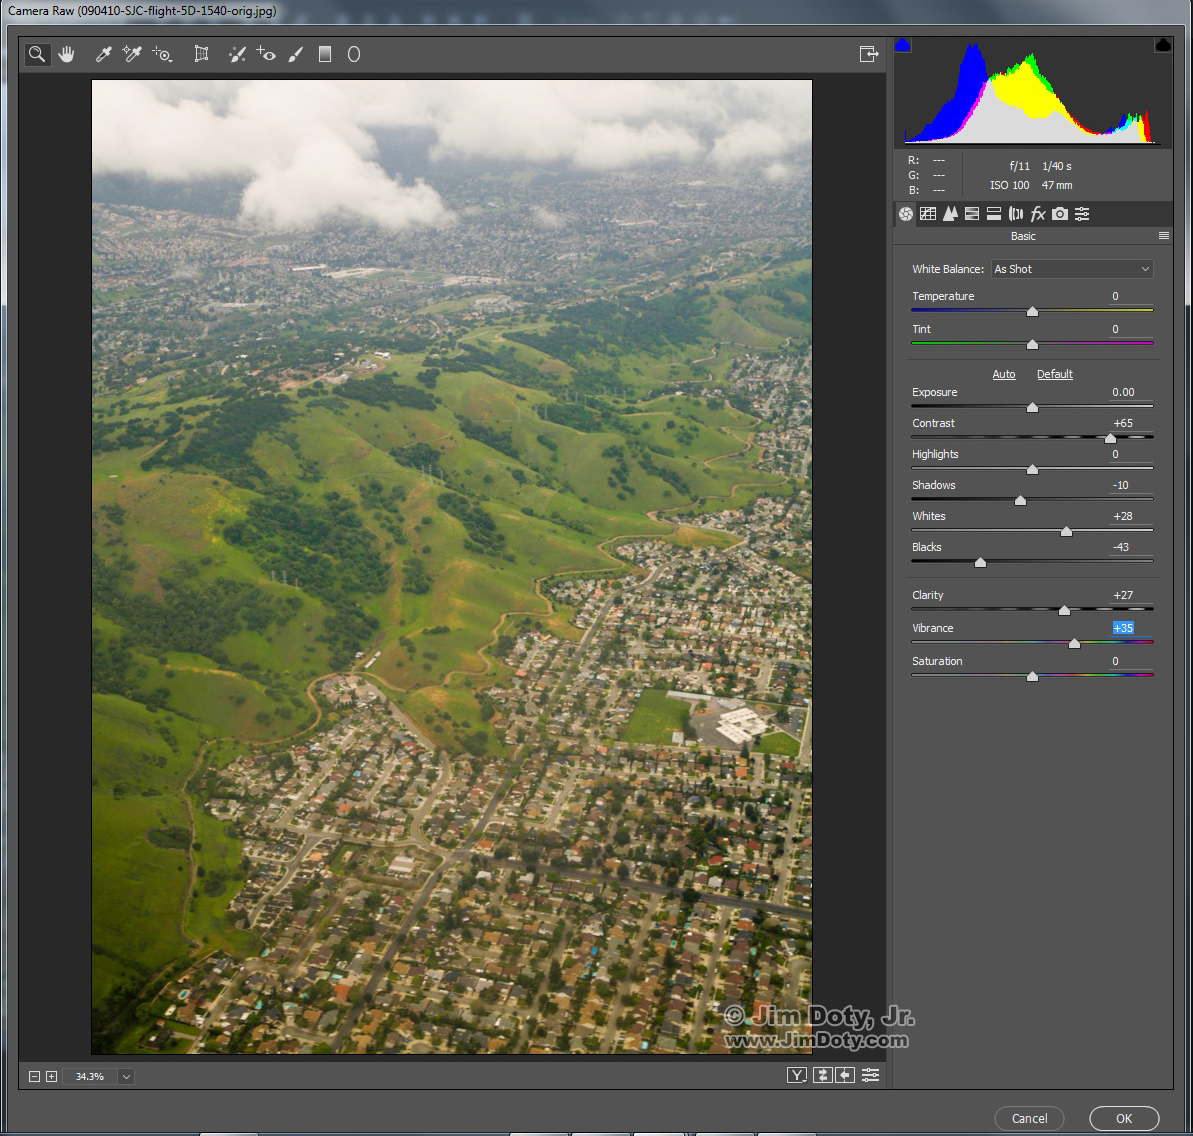
Open your RAW image in ACR. If you aren’t shooting RAW files already it is time to start if you want the best possible images. Choose the Basic panel and start working with the sliders. It is usually best to work your way down the sliders from top to bottom.
In the screen capture of ACR, you can see all the changes I made to the flight photo. I made no changes to the top sliders (Temperature, Tint and Exposure). I grabbed the Contrast slider (the little white triangle) and pulled it way over to the right (+65). I pulled the White slider a little to the right and Black quite a ways to the left (-43). Finally, I increased the Clarity and Vibrance. All of these changes took less than a minute. In this one panel I did all of the work I would have needed to do using Levels, Curves, and Hue-Saturation adjustment layers. ACR is about the best thing since sliced bread, at least for processing your photos. ACR is one of the reasons I think Adobe Photoshop Elements is the best image editing software under $100.
Here’s the flight image after less than 60 seconds work in ACR.
ACR in Adobe Photoshop and Adobe Lightroom
And if you have Adobe Photoshop or Adobe Lightroom, it gets better yet. You have the Effects panel with the Dehaze filter. I show you how to use it in this article.
No matter what software you are using now, or will use in the future, you can make your aerial images dramatically better.
Related Links
How to Correct Exposure with a Levels Adjustment Layer
How to Process Aerial Photos with ACR
ACR and RAW: Two of the Best Things You Can Do For Your Images

