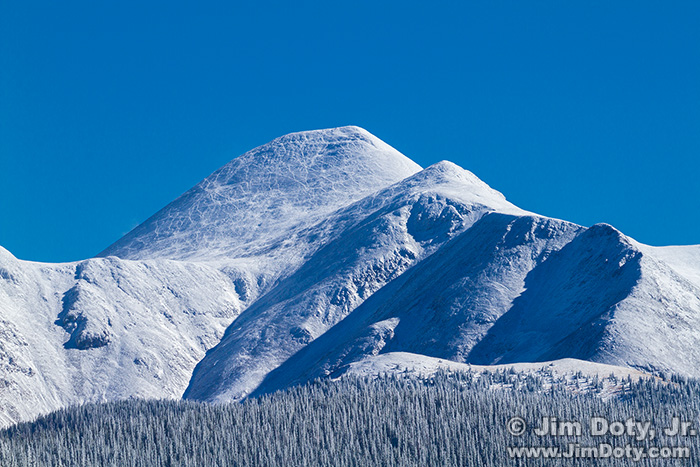
What is the name of this mountain? Photo editors want to know. They like caption information. If you have a distinctive mountain in your photo, “Mountain in Colorado” won’t cut it with your friendly neighborhood photo editor. Here’s how to identify that mountain in Google Earth (and how to get GPS coordinates into Google Earth).
Originally posted Jan. 26, 2016. Updated and re-posted Feb. 5, 2017.
Click on any of the Google Earth graphics below for a much larger version. All links in the article are listed together at the end of the article.
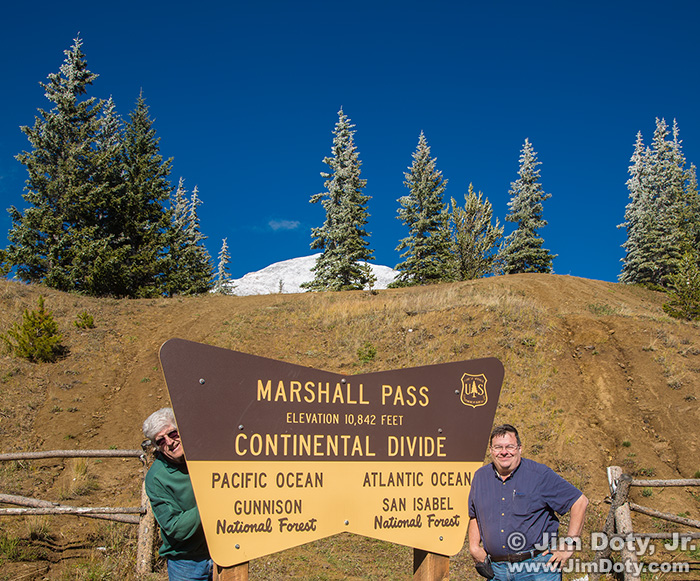
My brother-in-law and I had just crossed the Continental Divide at Marshall Pass (south of Mt. Ouray) and were headed toward Sargents, Colorado and on to points west. Marshall Pass is a beautiful drive in the fall. We encountered some beautiful fall colors on the way up and down but it was winter above 11,000 feet.
Not far from the top of the pass a snow capped peak came in to view so I pulled off at the first turnout. Despite the bright sun, the trees on the ridges were still coated with a very nice layer of frost. My DSLRs at the time of the above photos dis not record GPS data and my iPhone did. After I took the photo of the mountain with my Canon 7D, I used my iPhone to take a picture of the LCD on the back of the 7D so I would have the GPS location. This step makes it easy to find the photo location later on. I have learned more and more magazine photo editors are starting to ask for GPS data for photos they might publish. Most current smart phones record GPS data with the photos, as do many point and shoot cameras. Some recent DSLRs like the Canon 7D Mark II also record GPS information in the metadata. (Update: Since writing the original version of this article I have acquired the Canon 7D Mark II. Built in GPS is one of the reasons for the purchase.)
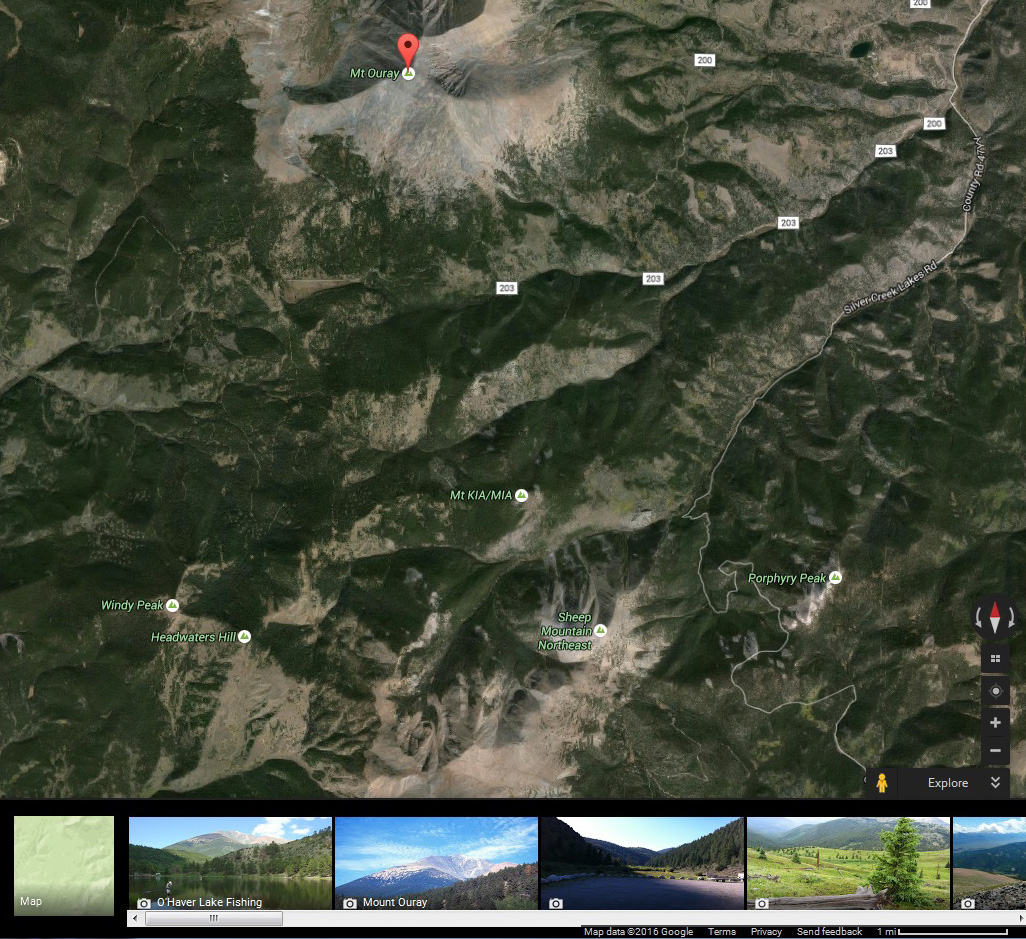
When I got back home I used Google Maps to look at the area south of Mt. Ouray. The information wasn’t detailed enough to know for sure which mountain was my mountain. I needed to see a 3-D side view in Google Earth.
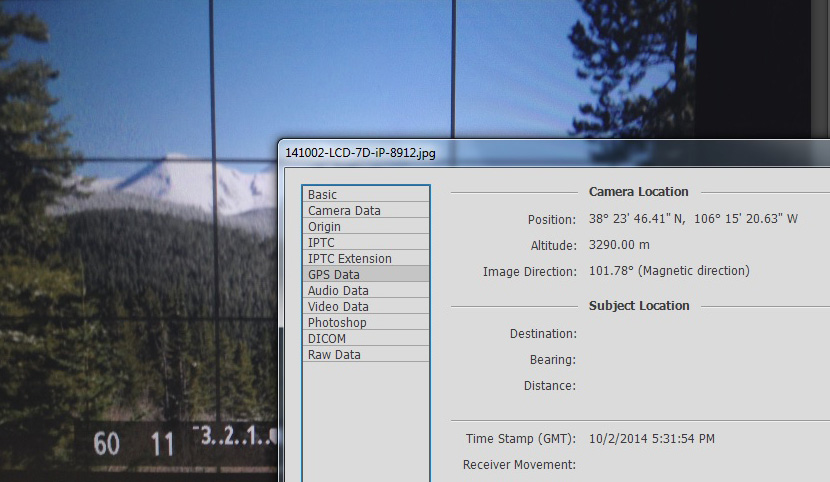
iPhone photo of the LCD on the back of my Canon 7D, along with the GPS metadata for the iPhone photo.
I opened the iPhone photo for this location in Photoshop and checked the GPS information (File > File Info > GPS Data). In the image immediately above note the photo direction in the metadata: 101.78°.
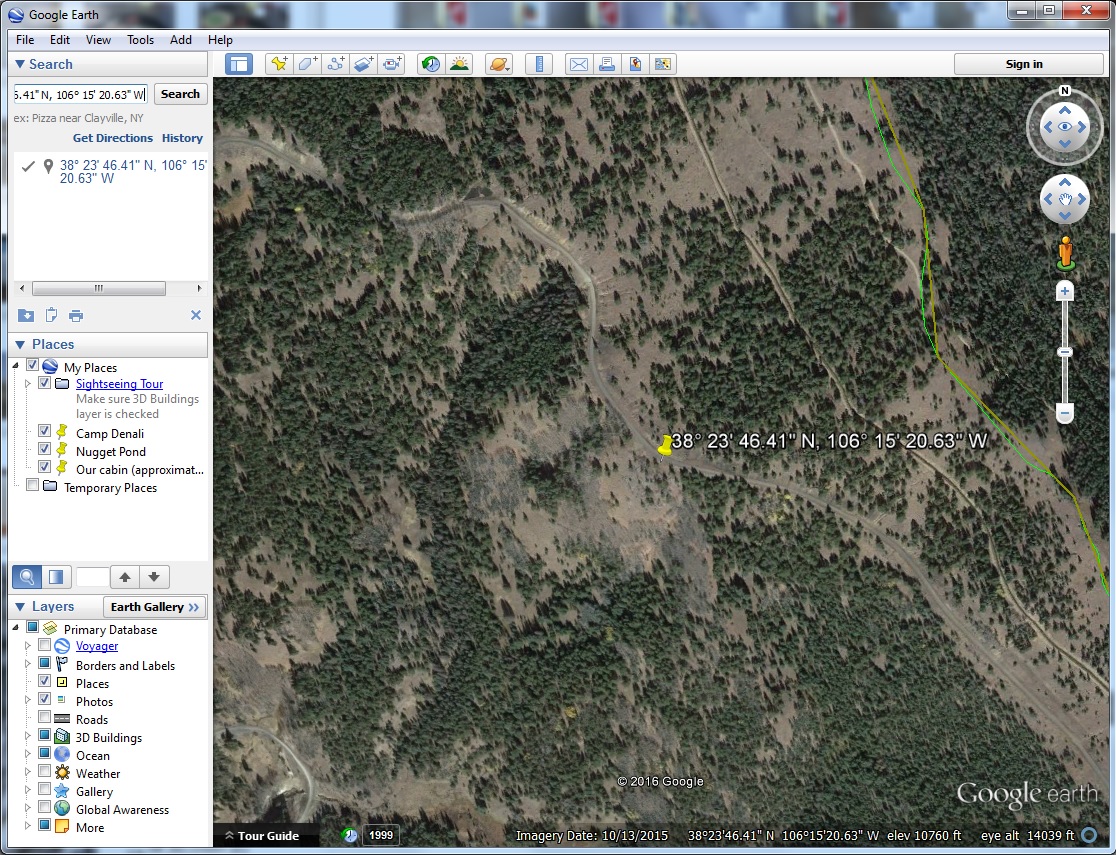
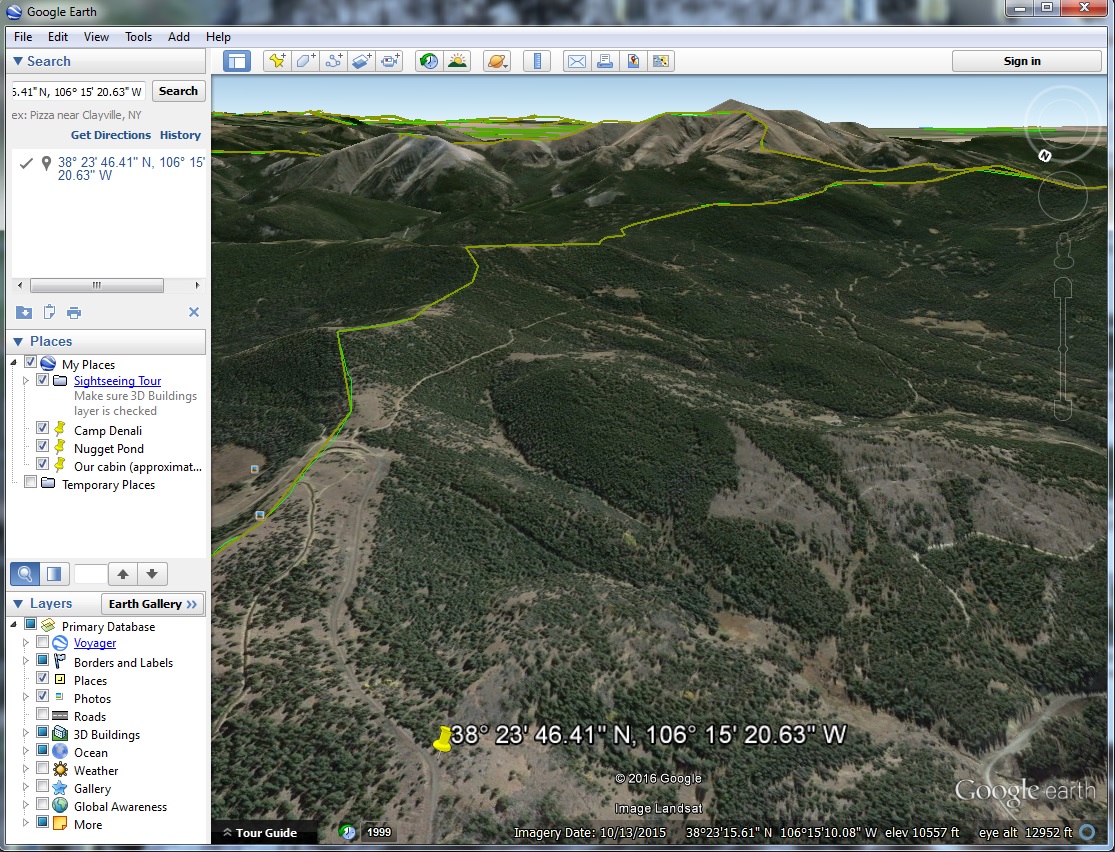
Next I opened Google Earth and dropped the GPS data (38° 23′ 46.41″ N, 106° 15′ 20.63″ W) into the search box. Google Earth took me right to the location where I took the photo which is marked by the yellow pin.
The GPS data needs to be entered into Google Earth with all of the correct notations, including the degree symbol (°). To get the degree symbol with a PC use ALT+0176. On a Mac use Option+Shift+8.
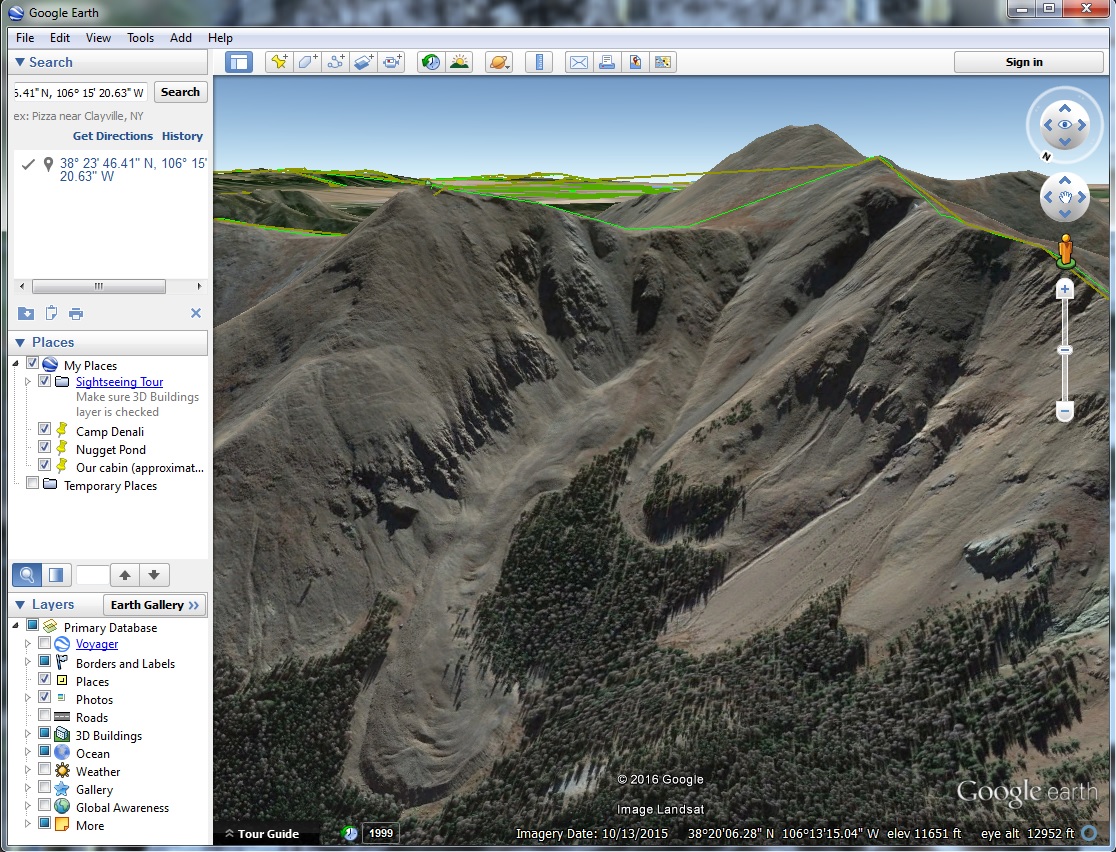
I grabbed the “N” for north in the top right corner of Google Earth and pulled it around the direction circle so Southeast was at the top of the photo. Inside the direction circle I clicked the upper arrow to change the angle of view so I was looking out instead of straight down. By using the other arrows I tweaked my point of view so I could see both the camera location and the mountain in my photo.
Using the arrows below the direction circle I flew over the landscape to get a closer look at the mountain. I also checked all of the other mountains in the area just to be sure I had the right one. If you are new to Google Earth, it takes a little practice to get used to how everything works.
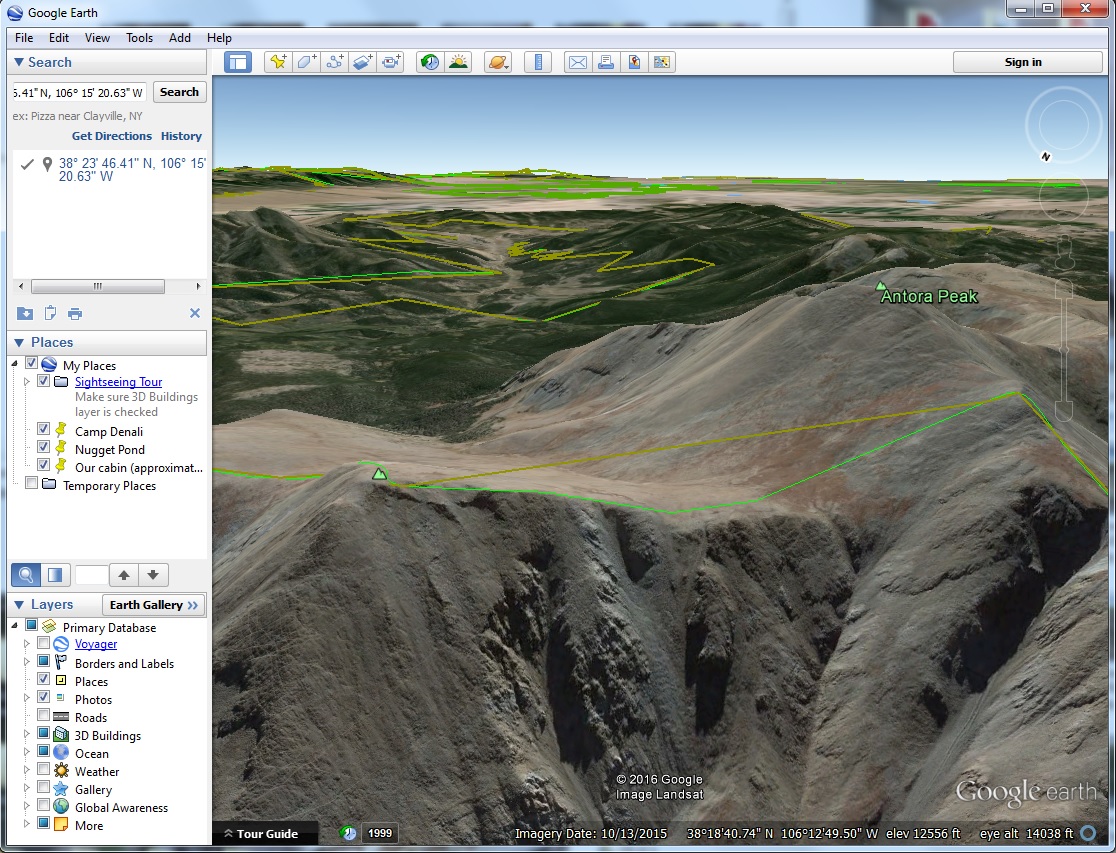
Once I was sure I had the right mountain, I flew up on top of the mountain to check the name. Major mountains in Google Earth have a small green mountain symbol on the top. Put your cursor over the green symbol and the name of the mountain pops up (the cursor doesn’t show in this screen capture). Antora Peak is the name of the mountain in my photo. Sheep Mountain is the mountain to the left. These two peaks are at the southern end of the Sawatch Range.
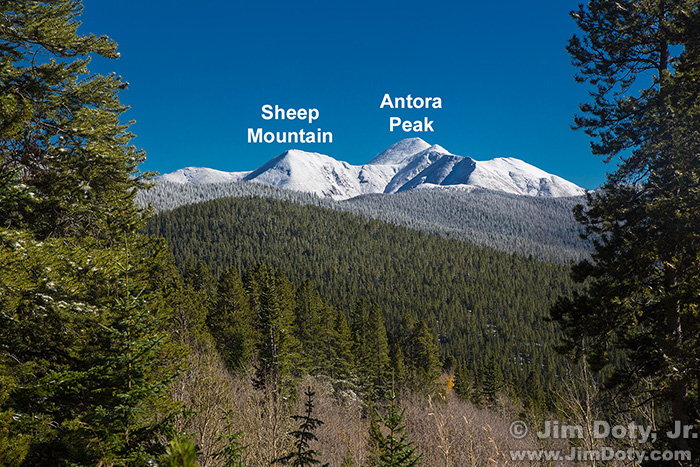
Sheep Mountain, Antora Peak and frost covered trees. Sawatch Range, Marshall Pass, Colorado. Compare this to the Google Earth image.
This is Antora Peak and Sheep Mountain (labeled) with a wider focal length lens (70 mm instead of 210mm). The photo location is the same as the 7D photo at the top of the article. I changed cameras and lenses but not the tripod location. I like the framing on the left and right provided by the trees in this image, but I prefer the top image for a more dramatic look at the peak and the frost covered trees. I included this image to give context to the next graphic with comments.
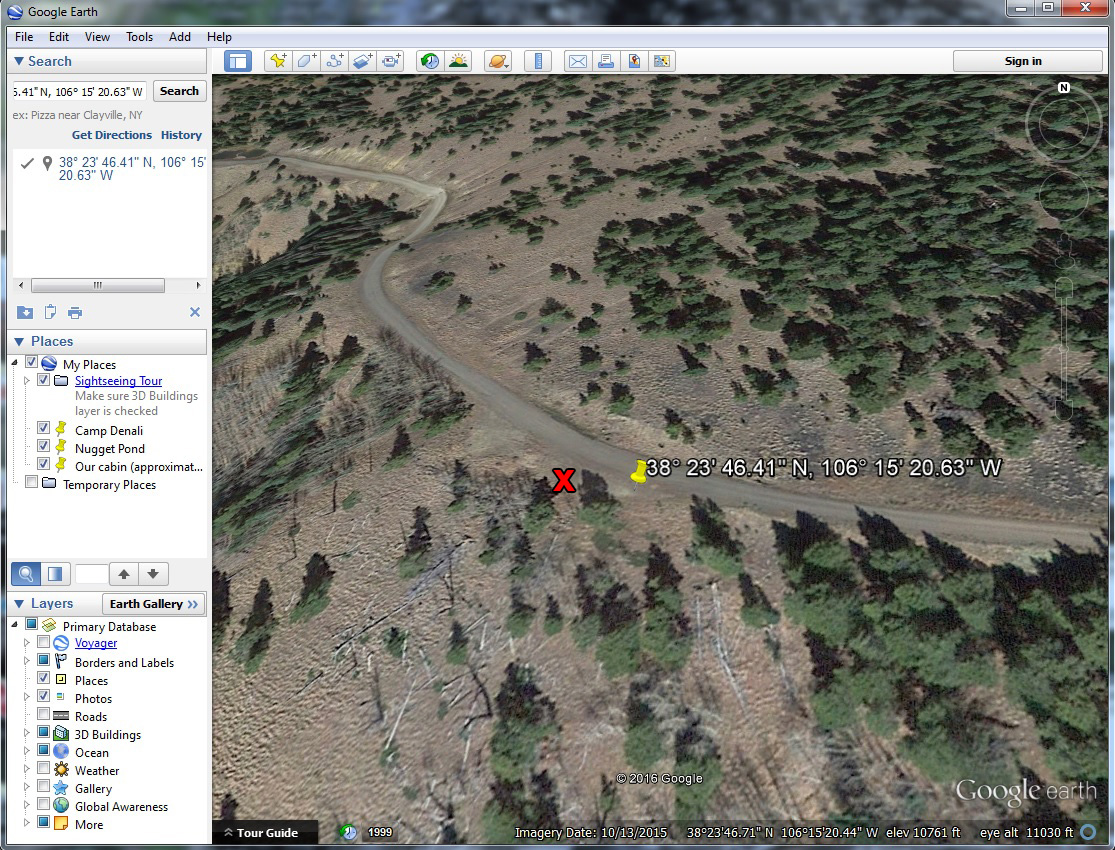
GPS location data can easily be off by 20-30 feet. This graphic shows the actual location of the cameras (marked with a red x) as opposed to the information in the GPS data (yellow pin). I know this because there are two trees fairly close together and close to the road in my photo of Sheep Mountain and Antora Peak. Those two trees are clearly visible in this Google Earth image. I also did a test of the GPS accuracy for the day a little farther down the road. More about that in an article later this week. Stay tuned.
Equipment
I often see deer or coyotes on the lower portions of Marshall Pass so I had two cameras with lenses ready to go at all times, one with 24-105mm zoom lens and one with a 100-400mm telephoto zoom lens. All photos (except for the iPhone photo) were taken with a tripod mounted camera.
Exposure
The sunny f16 rule can lead you astray when there is bright sunlight on snow. To insure adequate texture in the snow and to keep it from burning out, I subtracted 2/3 of a stop from the Sunny f16 rule, giving me a shutter speed of 1/320 second (f11, ISO 100) instead of 1/200. I also bracketed the exposures to insure an optimum amount of RAW image data. More at the links below.
Photo Data
Both images: f/11, 1/320 sec., ISO 100.
Top image: Canon 7D. Canon EF 100-400mm lens at 210mm.
Lower image: Canon 5D Mark III. Canon EF 24-105mm lens at 70mm.
GPS Series Links
“How To” Series: Using GPS in Photography – An Overview
“Where Were You When You Took Those Photos?â€
The Why and How of Adding GPS Information To Your Photos
How To Get GPS Coordinates Into Google Earth
Checking the GPS Location Accuracy of Your Camera, Part One
Checking the GPS Location Accuracy of Your Camera, Part Two
Comparing the GPS Accuracy of Three Cameras
Using Google Earth to Find the Name of a Mountain (and How to Get GPS Info Into Google Earth)
Geotagging Aerial Photos: The Joys and Frustrations of Using GPS on an Airplane
Using Google Earth in 3D Mode to Label Aerial Photos
Satellite Communicators: The GPS Messaging Devices That Can Save Your Life
Geotagged Photos: Posting Photos Online Can Put Your Family at Risk
Related Links
Google Earth – info and download site
In a Photo Rich Environment: Be Prepared
Colorado Fall Color Travel Guide

