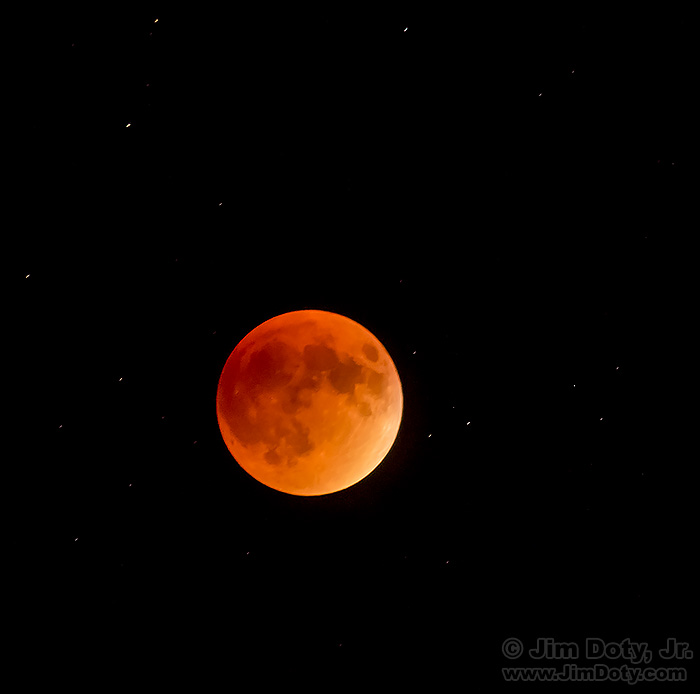
Sunday evening, September 27, I was leading a photography workshop in Rocky Mountain National Park. We were in pursuit (along with half the rest of the world) of the eclipse of the “Super Blood Moon”.
We were mostly using longer focal length lenses (200-400mm) to create images with relatively large moons, but wider angle lenses were being used to show the moon the the larger landscape.
Techniques for all eclipses are pretty much the same.
As the moon gets darker, shutter speeds get longer and ISO settings get higher. I began with 1/100 second shutter speeds and ISO 100. I ended with 1 and 2 second shutter speeds at ISO 1600. ISO 1600 means a fair amount of noise, so some judicious post processing with Adobe Camera Raw is necessary to have a sharp clean image.
A sturdy tripod and tripod head are essential.
Critical focus can be hard to achieve and you can’t put your ultimate trust in autofocus. The best way to focus is to use your camera’s “live view” mode, magnify the image to 10x on the LCD and manually focus the lens.
In “live view” mode the mirror is locked up. That is a good thing – you won’t get image degradation due to mirror slap. Set the two second self timer so there is time for vibrations to die down after you push the shutter button. It would be even better to use an electronic cable release.
During a two second exposure stars will trail a bit during the exposure, along with some blurring of the moon. You can minimize this if you have an astronomical clock drive. The good news is you can get a surprisingly good image of the moon in a 2 second exposure.
If you didn’t get a chance to photograph this eclipse, you can always take a shot at the next one.
Photo Data: Canon 7D Mark II. Canon EF 70-300 f/45.-5.6 DO IS USM lens at 285mm. 2 Sec, f/8, ISO 1600.
Link

