
Sisters.
The best way to insure excellent color in a portrait is to begin by setting a custom white balance on the camera, but that isn’t always practical. That’s when Adobe Camera Raw (ACR) comes to the rescue.
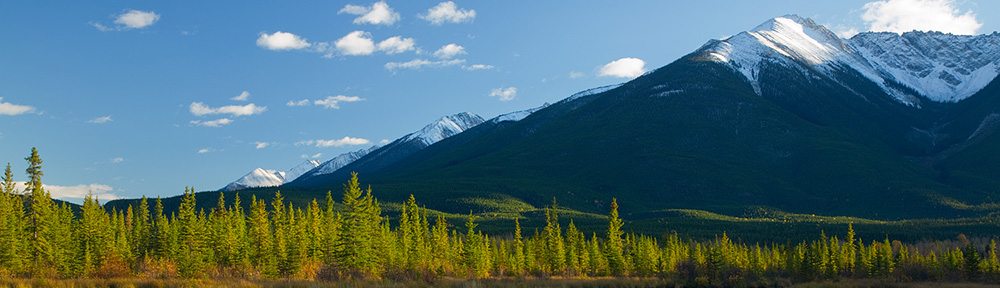
When we arrived at our location there were rapidly changing amounts of sunlight and cloud cover so the exposure and color temperature of the light were all over the place. If I waded across the stream to the girl’s location and did a custom white balance with my camera, by the time I got back to my shooting location the color temperature of the light would change.
Sometimes the light on your subject and the light where your camera is located are exactly the same so you can do a custom white balance from your shooting location. But I was under a much denser canopy than where the girls were standing (with a different color temperature), so that option wasn’t available.

Sisters. Original, uncropped JPEG file with green color cast.
As you can see from this original JPEG file, the sunlight filtered through the green leaves was creating a green color cast over the whole scene which varied in intensity with the amount of sunlight. The small area of direct sunlight on the arm at the left is the right color. In rapidly changing conditions like this I usually set the white balance to “Sun” or “Shade”, change the exposure as the light changes (exposure is critical to great color), and deal with the color issues later.
99% of the time, my camera is set to capture RAW plus JPEG files. The JPEG files are handy for a variety of purposes (like illustrating lighting conditions), but I use the RAW files to create my “finished” images.
My first step is to open the raw file with Adobe Camera Raw (ACR). It is such an efficient and effective way to get the most out of your raw files that I highly recommend you get ACR if you don’t already have it. You have three options. In order of price, ACR comes with Adobe Photoshop Elements, Adobe Lightroom, and Adobe Photoshop. ACR is a plugin with Elements and Photoshop, and it is the raw processing engine behind Lightroom. Using the Develop Module in Lightroom is the same as using the ACR plugin with Elements and Photoshop (provided you are using the same “process version”).

ACR. “Basic” panel before changes. (Click to see a larger version.)
When you open a raw file with ACR you should see the “Basic” panel on the right side of the screen. If not, click the lens aperture icon indicated by the red arrow. You are presented with a variety of sliders to adjust the look of your image. I usually begin at the top and work my way down.

ACR. “Basic” panel after changes. (Click to see a larger version.)
My first adjustments were to “Temperature” (move the slider to the left for more blue, to the right for more yellow) and “Tint” (left for more green, right for more magenta). The Temperature didn’t need much change. The green cast required a much bigger change to the Tint slider which is shifted well to the right. I tweaked the Exposure, pulled down the Highlights (moving the slider to the left) so the whites wouldn’t burn out, and boosted Clarity (a form of sharpness), Vibrance, and Saturation. My camera is set to bland (which means saturation, contrast, and sharpness are toned down in the camera) since I prefer to boost them with ACR rather than in the camera. The changes in the Basic panel bring the image much closer to how it should look.

ACR. “HSL” panel after yellow hue change. (Click to see a larger version.)
The next step is to go to the HSL panel (Hue Saturation Luminance), which is the fourth icon from the left (red arrow). This will allow more precise changes to colors in the image. It is my personal preference to work on one color at a time, adjusting the hue, saturation, and luminance, before moving on to another color. In the case of this image, yellow was off the most. I shifted the yellow slider to the left (toward red and away from green).

ACR. HSL panel. Yellow saturation and luminance increased.
Then I went to the saturation tab and move the yellow slider to the right to boost the saturation, and then to the luminance tab and boosted the yellow luminance. I repeated the HSL process again with red (not shown) and that gave me the final color look that I wanted (below). I sent the image to Photoshop, did some minor retouching (like removing the sunspot from the arm on the left) and saved the file as a master image. Then I cropped the image to my liking, flattened the layers, converted the color space to sRGB and created a web sized file.

ACR after all changes. (Click to see a larger version.)
Color isn’t the only thing you can change with ACR. You can zoom in close and remove color fringing, zoom out and correct for perspective, do parametric curves, sharpen the image, remove digital noise, do split toning, add grain, and more – but those are topics for another article.
ACR is the best gift you can give your raw files.
Photo Data: Canon 5D Mark III. Canon EF24-105mm f/4L IS USM lens at 92 mm. 1/20 sec, f/8, ISO 800.
Links
The more adept you become at using ACR, the better your images will be. This article will take you to the best books to improve your skills:Â Mastering Photoshop & Lightroom: Adobe Camera Raw (ACR)
Better Images: Adobe’s Improved “Process Version†for Adobe Camera Raw
The RAW vs JPEG Exposure Advantage
The Best Colors Come from the Best Exposures
How To Test Your Camera’s Color Exposure Latitude
The Best Image Editing Software
To learn more about using the white balance settings on your camera to match (or mismatch) the color temperature of the light, getting the best exposures, and portrait photography, read Digital Photography Exposure for Dummies, one of the highest rated books on Amazon. You can learn more here and order it at Amazon.com.