

Mount Hunter from a Bush Plane. Denali National Park. Alaska.
Metering for scenes with a lot of snow can be tricky since the bright snow fools the camera meter. I see a lot of winter photos with gray snow, which means the camera meter did exactly what it was designed to do. The solution is quite simple provided you know what to do.
This is the first in a series of articles on winter photography. To see the rest of the articles, go to the series link below. The whole series is updated every year in January.
Camera meters are designed to make everything a “medium tone”, or in black and white terms, “middle gray” (about half way in between black and white). If you stand close to a black locomotive and take a meter reading, the camera will try and make the locomotive look gray, not black. If you meter white snow, the camera meter will try and make the snow look gray, not white. That is why so many photos of winter scenes have snow that looks gray instead of white, the camera meter did exactly what it was designed to do. Your camera is in love with middle gray.
Using Exposure Compensation
The solution is to use the reflected light meter in your camera and use exposure compensation to make sure the white snow ends up being white (and not gray) in your photo. Point your camera at the brightest white snow in the scene. Make sure your camera only sees bright, white snow. If it sees anything else (blue sky, dark green evergreens), the meter reading can be thrown way off. You may have to use your lens to zoom in on an area of bright, white snow while you are metering, then zoom back out to include everything you want in your photo.

Nikon D7100 with the exposure compensation set to +1.
Check the meter reading on the camera and add about two stops of light (+2 exposure compensation) to what the camera meter is recommending. This will turn the snow from gray to bright white. Your camera should have an exposure compensation scale that ranges from minus 2 or 3 to plus 2 or 3. Just point your lens at some bright, sunlit snow, and spin the appropriate dial (check your camera manual) until the scale reads +2.
You have a choice of adding two stops of light by using a wider aperture or a longer shutter speed. If your camera meter reading of the bright snow is f/11 and 1/1000 second (at ISO 100), you can change the aperture to f/5.6 (two stops more light than f/11) OR you can change your shutter speed to 1/250 second (two stops of light more than 1/1000 second). Don’t change both by two stops or your photo will be seriously over exposed. “Lock in” the new exposure setting so it doesn’t change, recompose to include the rest of your scene and take the picture. For more help with apertures, shutter speeds and thinking in stops, read this article.
Lock In Your Exposure Settings
It is important that you “lock in” your new exposure settings so they don’t change.
Sometimes the simplest and fastest way to do this is to meter the bright snow in the manual exposure mode. Zoom in on some white snow and change the aperture or shutter speed dial until the exposure compensation scale reads +2. In manual mode your aperture and shutter speed are now locked in and won’t change. You can take all the pictures you want and your exposure settings (aperture and shutter speed) will not change until you decide to change them. As long as the light doesn’t change you can try all the variations you want on how you compose the scene. Horizontal. Vertical. Wide angle view. Zoom in on part of the scene. Your settings are locked in and won’t change.
If you are in an automatic mode things get trickier. You can zoom in on the snow and dial in +2, but as soon as you zoom back out to include the rest of your scene the camera will re-meter the scene and change your exposure settings. You need to keep your camera from re-metering when you zoom back out. How to do that varies with each camera model so you will need to check your manual.
For many cameras you can lock in the exposure settings in an automatic mode by keeping the shutter button pressed half way down. The process goes like this. Zoom in on some snow. Press the shutter button down half way to meter the snow and then change the exposure compensation scale to +2. Without letting up on the shutter button, zoom back out and then press the shutter button the rest of the way down to take the picture. You will need to repeat the whole process every time you take another picture. Doing it this way is fast if you take only one picture of the scene, but it really will slow you down if you want to create several variations on the same scene by changing the composition.
Two Examples
In the photo of Mount Hunter at the top of this article, you would need to zoom your lens to a longer focal length to meter only the brightest, sunlit snow on the side of the mountain. If the meter sees the snow in the shade, or the blue sky, or the plane wing, it will throw off the meter reading. Add about two stops of light (+2 exposure compensation), lock in the new exposure setting, zoom back out to see the whole scene, and take the picture. Once you get the hang of it, it is quick and simple to do. Your exposures will be better and so will your photographs.

Upper Tahquamenon Falls, Winter
There are a lot of different tonalities from white to very dark in this photo of Upper Tahquamenon Falls. The fastest, simplest, and most accurate way to correctly meter this scene with your camera is to zoom in and meter the area of white snow marked in red, add about two stops of plus exposure compensation (+2) to the meter reading, lock in the meter reading (preferably in manual exposure mode), then zoom back out to include the whole scene and take the picture.
Testing for Exposure Latitude
The exposure latitude of each brand and model of camera is a little different, so you may need to add more or less than 2 stops of light for your snow to look bright and white without burning out (losing texture). Plus 2 stops will get you close to bright snow for a lot of cameras, but not all cameras. That is because each camera captures a slightly different range of tones from light to dark so the amount of exposure compensation that is just right for Camera A might be too much for Camera B and not enough for Camera C (even if all three camera models are from the same manufacturer). The only way to know for sure how much “snow exposure compensation” is right for your camera is to test your camera. The next time you have sunlight on snow, go out and take a series of photos of the bright sunlit snow and add from 1 to 3 stops of plus exposure compensation in 1/3 stop or 1/2 stop increments to see which photo gives you the kind of “light and bright” snow you prefer. Depending on your camera model, you will be able to change your aperture and shutter speed in 1/2 or 1/3 stop increments, or both. For details on how to do this test, read this article: Testing Your Camera’s Snow Exposure Latitude.
Photo Locations
The photo of Mount Hunter was taken on a bush plane flight around Denali (Mt. McKinley) with Greg LaHaie of Kantishna Air Taxi. More photos from our flight are here. If you are at the west end of the Denali National Park road and it is a good day for flying, book a flight with Greg. The views will be spectacular.
Kantishna Air Taxi is very close to Camp Denali which is a great place to stay at the end of the park road. Every cabin has a great view of Denali (Mt. McKinley). I give Camp Denali my highest recommendation.
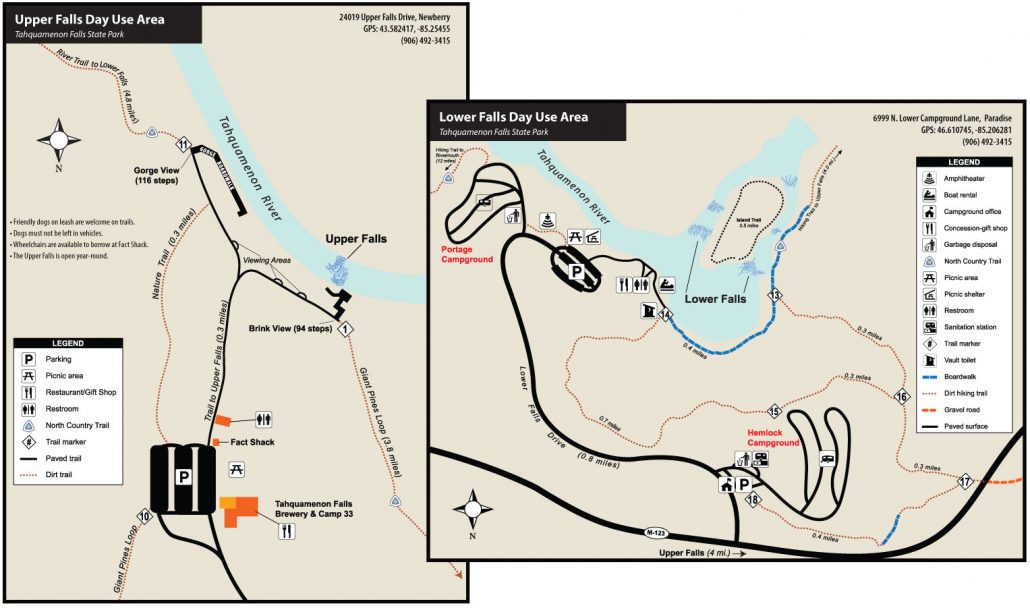
Maps of the upper (left) and lower falls areas. Click the maps for a larger view.
The photo of Upper Tahquamenon Falls was taken from an observation deck right by the lip of the falls. As you take the walking path from the parking lot you will come to the path that follows the escarpment above the river and the falls. If you turn right on the path you will eventually come to the 94 steps that take you down to the observation deck where I took this picture. Going either left or right on the observation path will take you to some nice viewing areas of the falls as you walk along the path. If you go left you will eventually come to some steps that take you right down the the river level (“Gorge View”) with a look upstream at the falls. Tahquamenon Falls State Park is in Michigan’s Upper Peninsula. There are parking areas and tourism centers (food, souvenirs, restrooms) at both the upper and lower falls.
Originally posted December 26, 2012. Revised and re-posted January 2, 2021.
Winter Photography Series Links
“How To” Series: Winter Photography – An Overview with links to all the articles
More Article inks
Why Is Exposure So Important? The first in a series of articles covering the basics of exposure with links to the rest of the articles.
Speaking Your Camera’s Language: Aperture, Shutter Speed, and ISO (thinking in stops).
Using Reflected Light Meters, Part One (with a section on exposure compensation).
Your Camera Loves “Middle Gray”
How To Use Your Camera’s Exposure Compensation Scale
Book Link
If you are looking for a comprehensive guide to exposure (everything from the basics to advanced exposure techniques), get Digital Photography Exposure for Dummies. It is one of the highest rated photography books at Amazon. You can learn more here and order it at Amazon.com.
More Links
Denali National Park – the official NPS site.
Camp Denali 1 and Camp Denali 2 – my photos.
Camp Denali – the official site.
Tahquamenon Falls State Park – the official DNR site.
Tahquamenon Falls State Park at Exploring the North.