

Christmas Lights, Easton Shopping Center, Columbus, OH
‘Tis the season and there are a lot of Christmas lights out there to photograph. It is fun and easy, and with a few tricks up your sleeve there are creative things you can do. Many of these techniques can be used on other lights throughout the year, so this is a good time to practice your skills for photographing lights.
Originally posted December 21, 2016. Updated, expanded, and re-posted December 18, 2018.
The meter in your camera will be prone to underexpose bright Christmas light display, or overexpose scenes with limited lights and lots of dark areas. You are better off doing your exposures manually and using some standard Christmas light exposures. With a DSLR, ILC, or other camera that allows you to independently set all of the exposure controls, put your camera on a tripod and try these settings first: ISO 100, f/8, 4 seconds. That is the universal exposure for outdoor Christmas lights, which means it will work in most average outdoor situations. Not all lights are the same in brightness so some bracketing is in order by varying the shutter speeds. For darker lights like a house decorated with all blue lights, change the shutter speed to 8 or 15 seconds. For really bright lights, like all white lights, try shutter speeds of 2 seconds and one second.
The preferred white balance setting depends on the kind of lights you are photographing and the look you are after. When Christmas bulbs were all tungsten, the advice was simple: use the daylight setting (sun symbol) for a warmer look and the tungsten setting (light bulb symbol) for a more neutral look. With all of the new kinds of lighting available, not to mention mixed lighting, it is now more complicated, but the two best white balance choices are still daylight and tungsten. Experiment. Do some pairs of identical photos, using daylight for one and tungsten for the other. Compare the results and see which you like best.
Photographing Christmas lights is one of those situations where the histogram and the LCD are less reliable than more ordinary situations. Another reason for bracketing. Begin with the universal setting above and bracket based on how light or dark the lights are.
If you are photographing lights inside, the Christmas lights will stand out more if you turn off all or most of the ambient lights in the room except for the Christmas lights.
 You can do some fun things with long shutter speeds and a tripod mounted camera. One of the simplest is to zoom the camera lens during the exposure. I usually change my basic setting to ISO 100, f/11, and 8 seconds. That gives me a longer exposure time to play with. I usually get pretty close to my subject with a wider focal length to start, and then zoom longer to make the lights explode outward. It helps to “burn in” the subject by not zooming at the beginning of the exposure. So I will leave the zoom ring alone for two seconds and then zoom for 6 seconds (total of 8). Or leave the zoom ring alone for 4 seconds and then zoom for 4 seconds (same total of 8). For the above ornament photo I didn’t write down the specific combination but I think it was around 4 seconds of no zoom, followed by 4 seconds of zoom. Experiment with different combinations of no zoom and zoom time until you get the look you like. Don’t zoom to quickly, You don’t want to end up at the long end of the zoom too quickly and have the long setting burn in at the end of the photo. Try to zoom as smoothly and evenly as possible. Experiment.

Hanging lights on a Christmas tree.
You can also use long shutter speeds to record the passing of time, like a person walking around the Christmas tree hanging a long string of lights. The bright lights will record as streaks as they move through the frame but the person with the lights will barely record at all.

River Walk, San Antonio
In this long exposure of San Antonio’s famous River Walk, everything moving records as a blur.
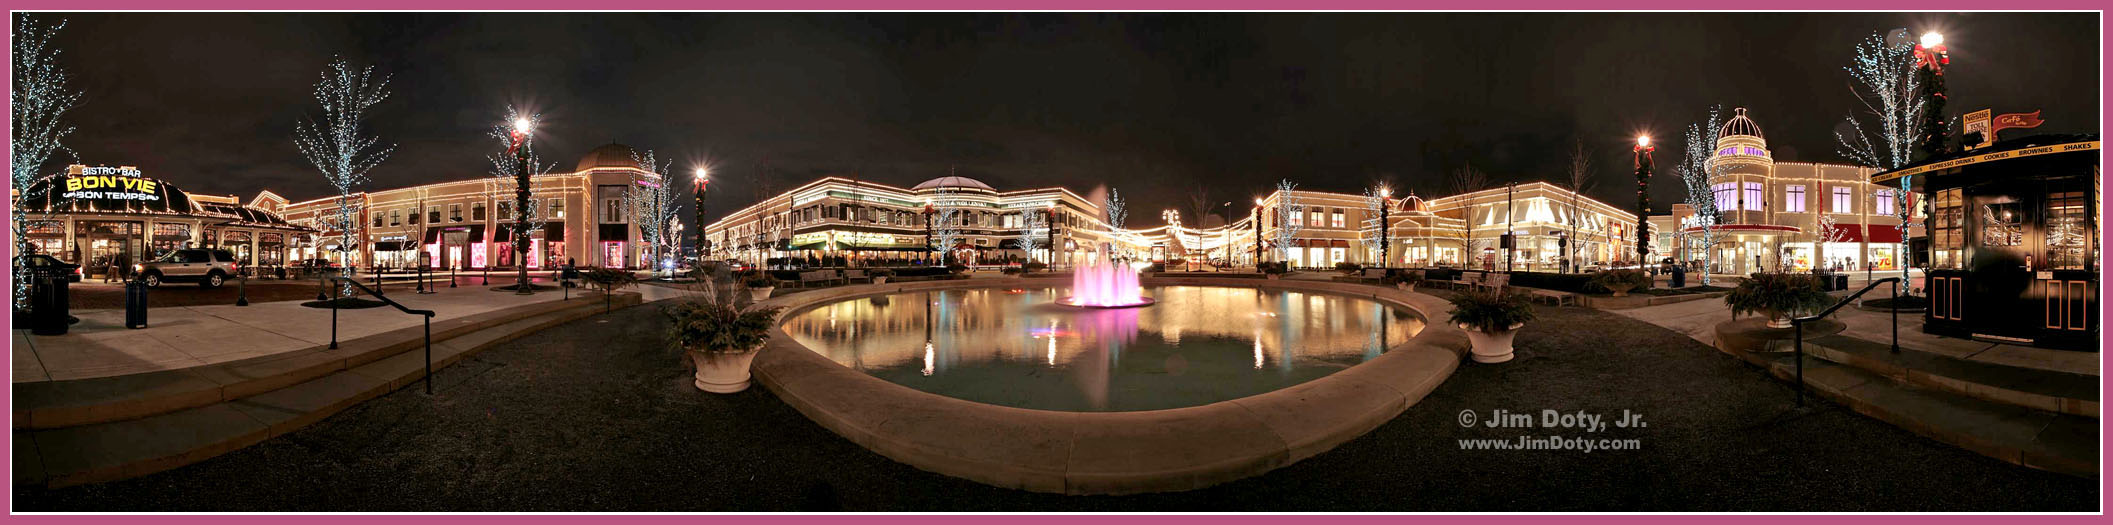
Christmas at Easton, Columbus, Ohio. Click for a larger version.
If the scene is really wide, don’t forget the possibility of taking several overlapping images and doing a stitched panorama.

Christmas Lights, iPhone Photo
The photo abilities of smartphones have improved dramatically in the last few years, especially in low light situations. Just point your camera phone at the lights and click the shutter. Exposure can be a bit iffy. If the photo looks too light or too dark and your phone will allow you to alter the exposure, take advantage of that feature.
The one disadvantage of a smartphone photo at night is the camera will default to a high ISO setting to create a hand hold-able shutter speed. This means more noise in the photo. For small, web sized photos or small prints this won’t be a problem. For big prints it might be. The solution to the noise problem is to use low ISO settings (ISO 100 or ISO 200), long shutter speeds and a tripod. The Camera+ phone app, mentioned below, will allow you to use lower ISOs and longer shutter speeds on your smartphone.

Christmas Tree Impressions. iPhone.
With a smartphone you can spin the camera while you take a photo. You don’t have as much control is you do with a tripod mounted camera. The longest shutter speed on an iPhone with the native app is one second, but you can change that with some third party photo apps.

iPhone Apps
Two apps that allow you to do this are Camera+ (third row, second app) and Slow Shutter (third row, fourth app). Camera+ gives you the smoother look of an actual long shutter speed. Slow Shutter, depending on the settings you use, looks more like the combination of video stills.

Christmas Tree Light Swirls, handheld iPhone.
This is a photo using the Slow Shutter app. Unlike a tripod mounted camera, you don’t have a whole lot of motion control with a handheld camera phone, but you can still have a lot of fun. After taking an image you will need to do some processing of the image using the built in features of the app. Boosting the contrast and saturation are usually essential.

Slow Shutter options
You have a variety of controls with Slow Shutter. The three primary tabs are Motion Blur, Light Trail, and Low Light. With the Light Trail tab selected you have Light Sensitivity, Shutter Speed, and ISO to play with. The best way to learn is by experimenting.
So grab your camera, get out there, and have fun!
Link