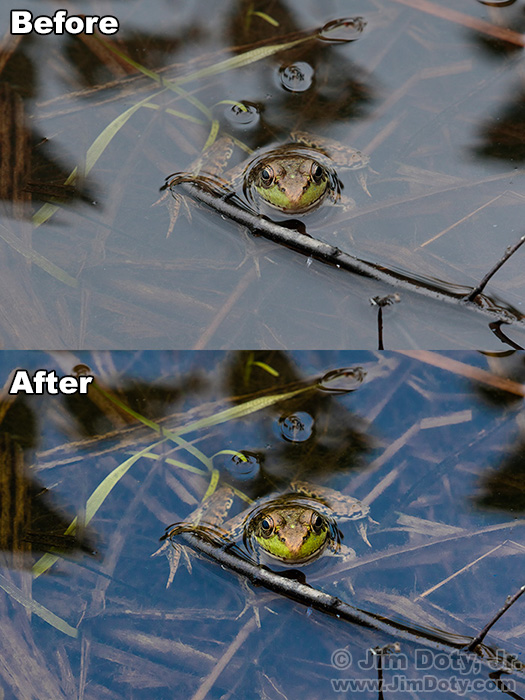
Green frog, before and after.
Are your best images worth two minutes of your time? If they are, two of the best things you can do for the quality of your images is to shoot RAW files and process the images with Adobe Camera Raw (ACR).
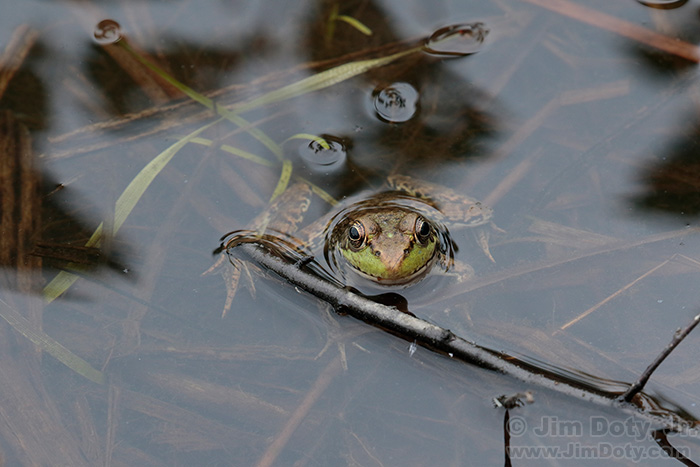 My initial image, right out of the camera, is pretty bland. That is on purpose. Odd as it may sound, setting your camera to bland is one of the secrets to ending up with great color (see the first link below). The green cheeks in this image are no where near as bold as the cheeks of the real frog. Not to worry. We will fix that.
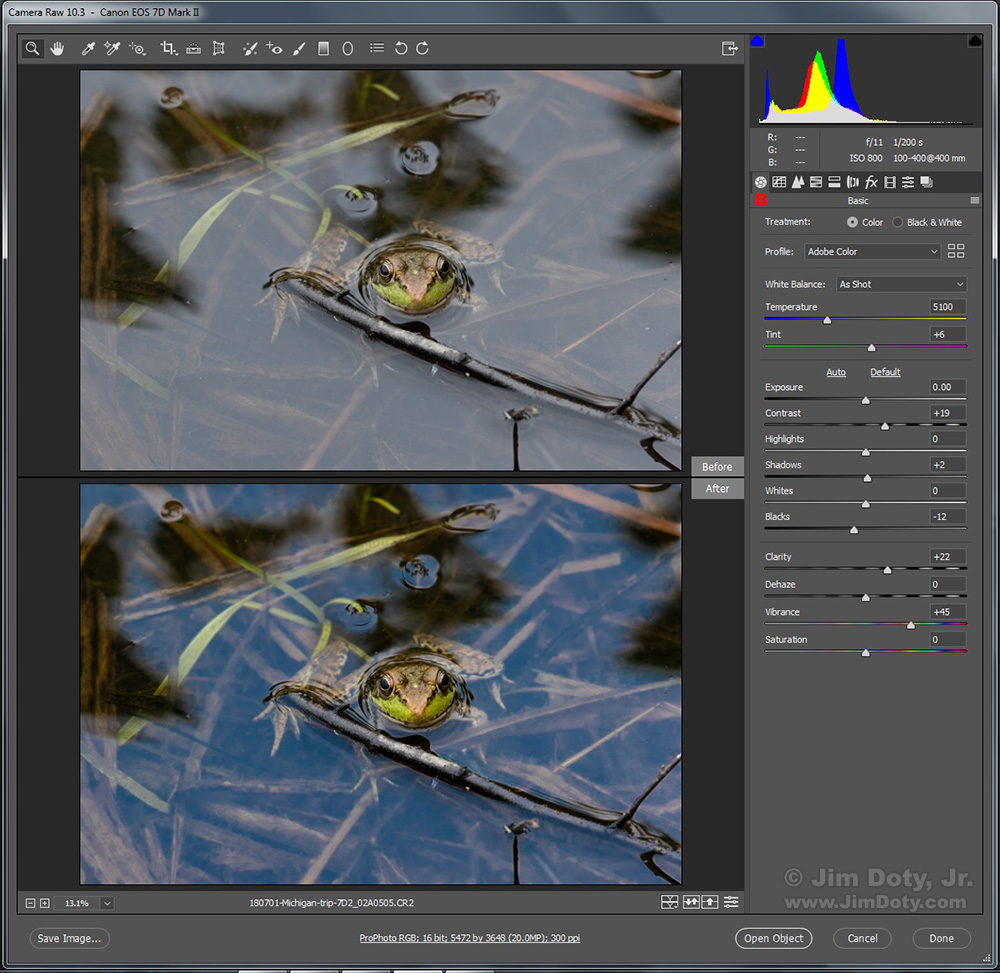
ACR, Basic panel on the right. Click for a larger version.
When you open a RAW file with ACR, you will see the sliders of the Basic panel on the right. I marked the icon for the basic panel with a red B. You change each slider by grabbing its triangle and dragging it right or left. In this screen capture I have ACR set up to show me the above and below comparison of the before and after versions of the image. You can cycle through different before and after comparisons. More about this later.
You can see how I set each of the individual sliders to fix this image. I boosted the Contrast by dragging the triangle to the right. I reduced the Blacks a little bit (making the darkest tones in the image a little darker), and increased both the Clarity and Vibrance.
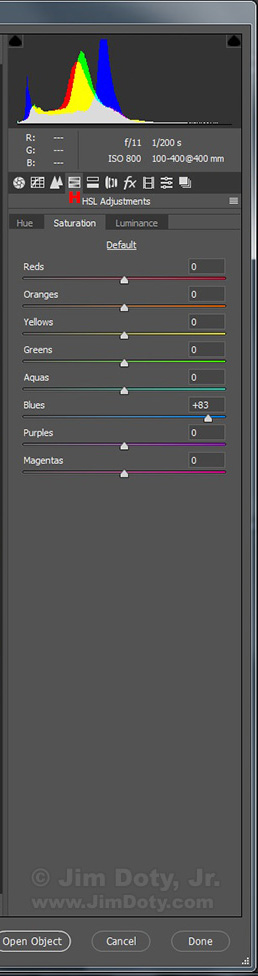
ACR, showing just the HSL Adjustments panel, Saturation tab. Click to see a larger version.
Next I went to the HSL Adjustments panel by clicking on its icon (indicated by a red H). I chose the Saturation tab and significantly boosted the Blues slider. This brought out the very faint blue in the water.
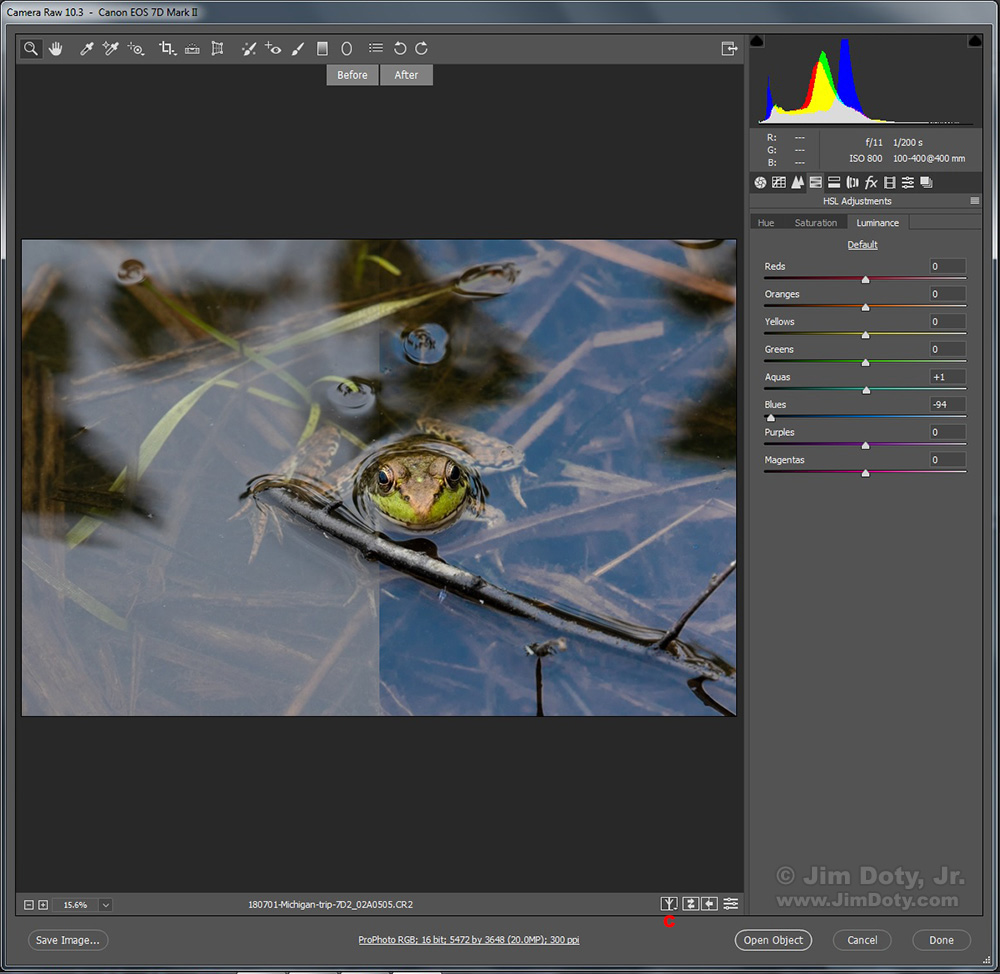
ACR, HSL Adjustments panel, Luminance tab. Click to see a larger version.
Then I clicked the Luminance tab and dragged the Blues slider way over to the left to darken the blues tones in the image. In this screen capture I chose a left and right split view version of the before and after comparison. To cycle through all of the before and after comparisons, click the comparison icon (marked with a red C) near the bottom right corner of the image area.
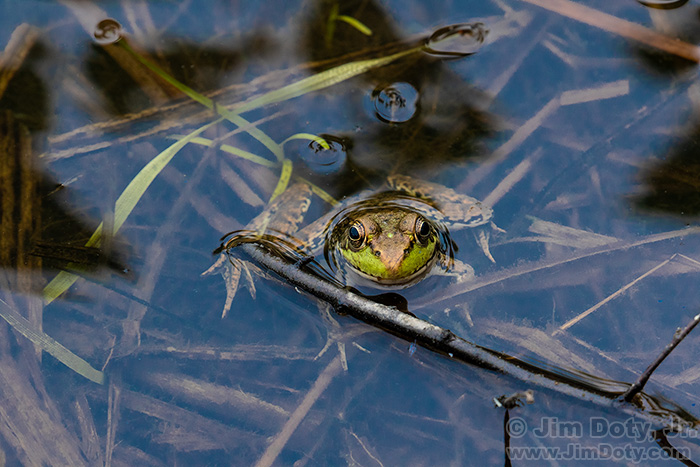
Green frog, Seney National Wildlife Refuge.
The final result is a much better image of the green frog. The total time it took me to do all of this was about two minutes.
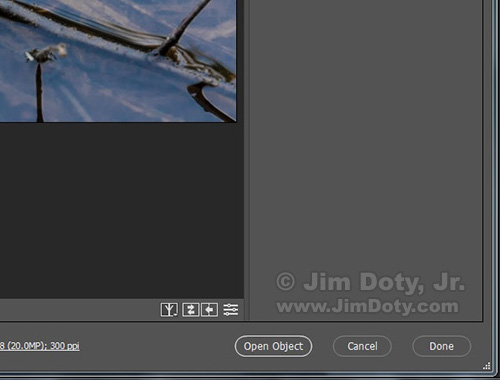
ACR, Open Object button
I clicked Open Object (bottom right corner of ACR) and ACR to send the image to Photoshop to save.

Green frog, cropped.
After I saved the green frog image in Photoshop I decided I would crop the image closer to the frog.
Getting ACR
ACR was initially introduced by Adobe as a separate add-on that cost $100. It now comes included with Photoshop Elements, Adobe Photoshop, and Adobe Lightroom. Elements usually costs $60 – $80 depending on whatever special deal is going on. Photoshop and Lightroom come bundled together for a $10 per month subscription fee.
The Elements version of ACR comes with the Basic panel and few other panels but it does not include the HSL Adjustments panel. The Photoshop/Lightroom versions of ACR both come with all the panels.
For more information on all of this software, go to the last link below.
Links
Secrets of Great Color: Set Your Camera to Bland!
ACR and RAW: Two of the Best Things You Can Do For Your Images
Your Camera Does NOT Capture Reality! (And what to do about it.)
Better Images: Adobe’s Improved “Process Version†for Adobe Camera Raw