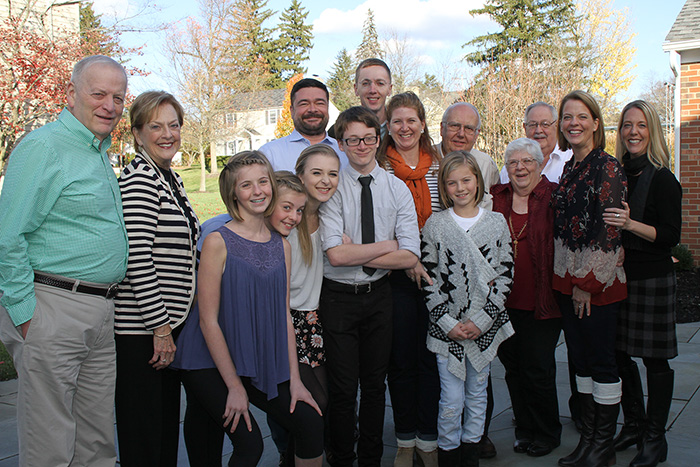
Lori sent me some extended family group photos (I was not the photographer) and asked me to retouch them. I had to add a person to one photo and do some face swapping between some of the photos. The goal was to do it in such a way that you couldn’t tell I added a person and swapped faces.
The lighting was different between the photos so I had to do some tonality and color adjustments to make the skin tones match. From one photo to the next the light came from different directions so I had to change the bright side of one face to look shaded and the shady side to look brighter.
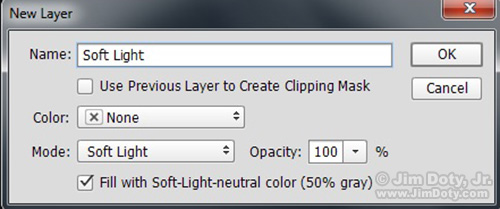
I used an adjustment layer with a “Soft Light” blending mode and turned on “Fill with Soft-Light-neutral color (50% gray)”. By alternating black and white as the foreground and background colors, with a reduced opacity brush I painted on the face to make the dark side lighter and the light side darker. It took a while to get a perfect blend so the face I swapped from another photo looked just right.
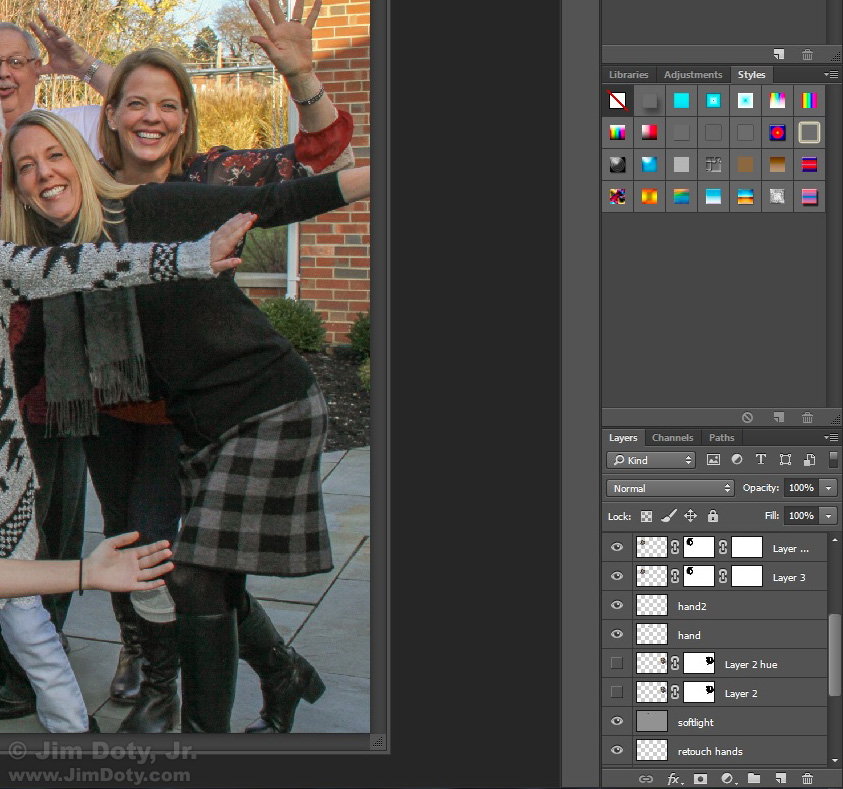
A few of the 18 adjustment layers (bottom right) that were used to retouch this image. Click to see a larger version.
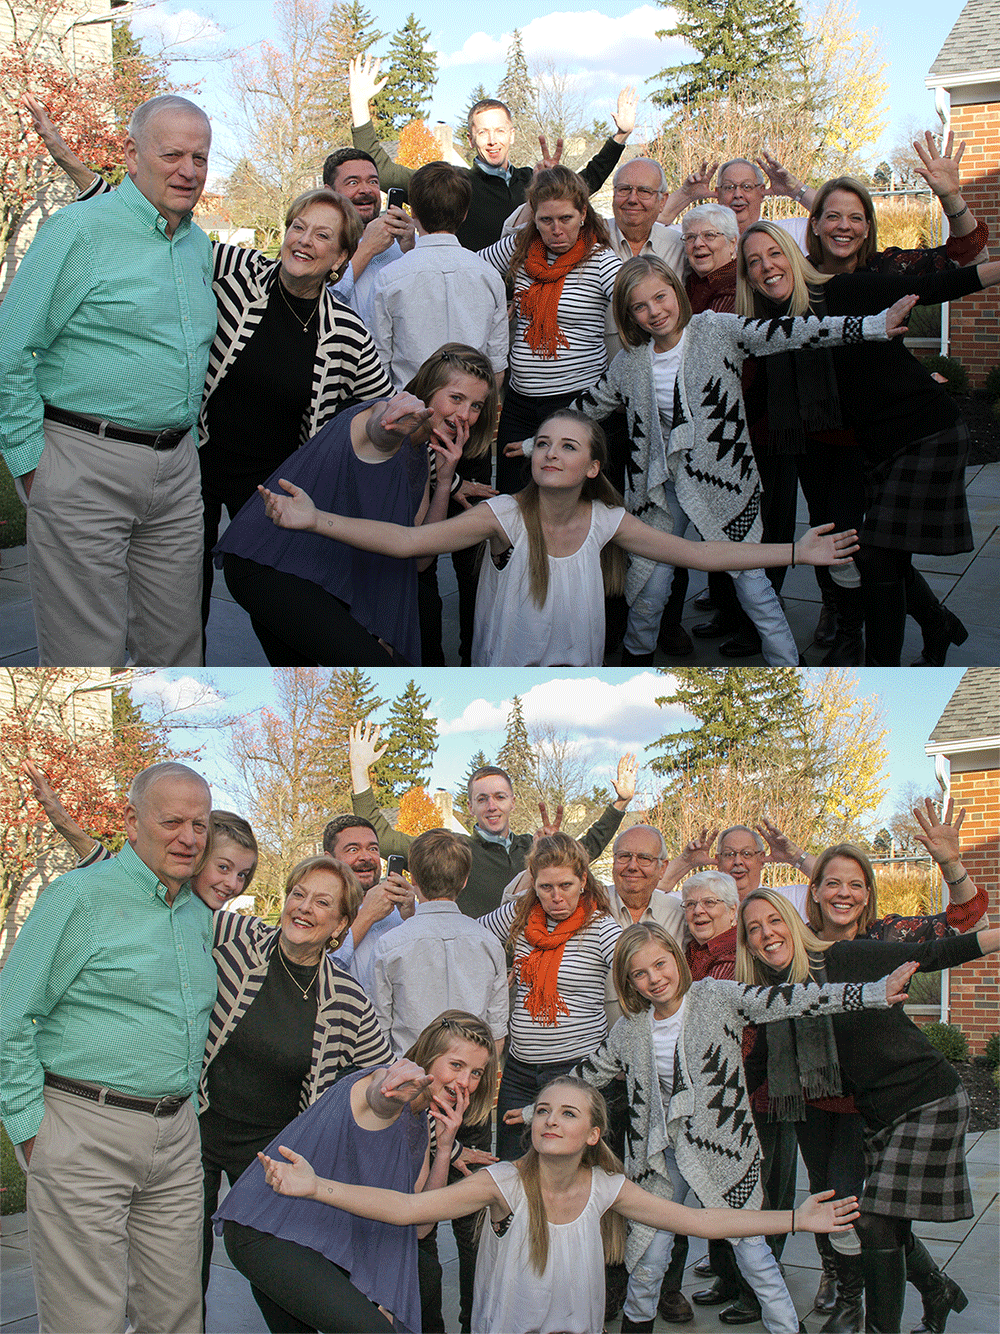
I finished up by doing some general retouching of the images and some tweaking of the overall color balance so they would print well. I toned down the sunlit area, brought up the exposure for the darker shaded area, and warmed the colors in the shady area.
This animated GIF will give you a general idea what I did with one of the images. Animated GIFs are limited to a maximum of 256 colors so you don’t see the full richness of color in the final image. Bringing up the dark tonalities really brings out the skirt and scarf of the woman on the left.
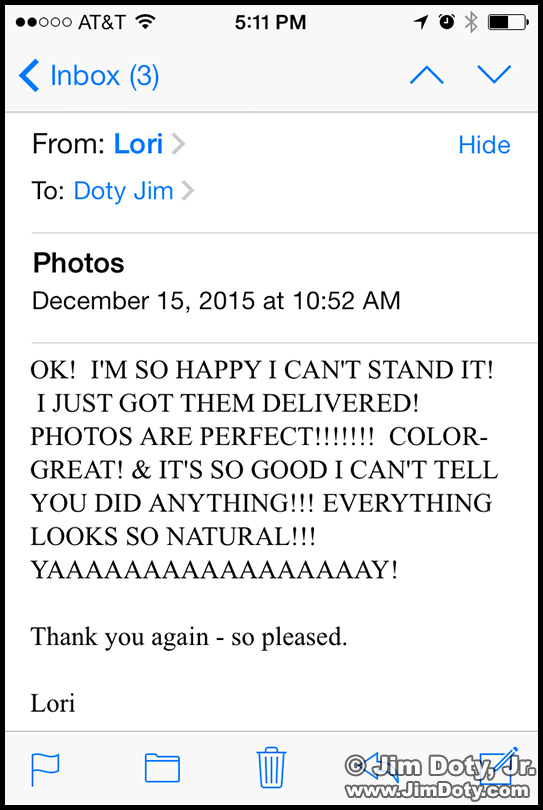
When the files were just like I wanted them, I uploaded them to a private folder at my Zenfolio site so Lori could order prints in time for Christmas. She ordered on December 14 and received her finished prints the next day. That’s when she sent the e-mail above. When I read it on my iPhone it made my day! She said I could post this e-mail but asked me to wait until everyone in her family received their surprise prints.
One day is great turn around service for an out of state lab – especially so close to Christmas! That is one reason I use Zenfolio. The lab is first class. Zenfolio offers private folders for clients who prefer that service.
Links
Client folders at Zenfolio. Some are public and some are private in accordance with each client’s preferences.
Before and after examples of retouched images.
A before and after closeup of an enhanced retouching job along with a 6 minute accelerated video of the retouching process. Note how the texture of her skin is still there in the after example. Cut rate retouchers take short cuts to save time so the skin looks face, plastic, and obviously retouched. On the other hand, good retouchers can give you flawless skin that still has its original texture so it doesn’t look retouched. First rate retouchers have a motto: “Every pore, every pixel”.
If you want to learn how to do all of this yourself, read the Mastering Photoshop Series. If you want to learn the basics, start here. If you have a handle on the basics but you aren’t yet ready to dive into all the books in the Mastering Photoshop Series, go here.

