
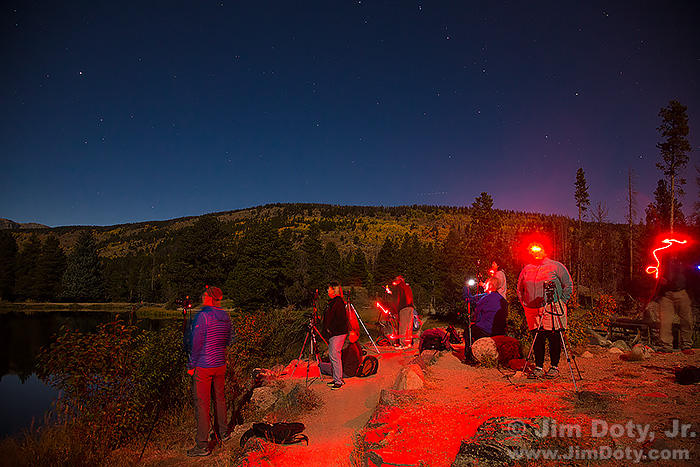
Photographers with red headlamps. Field Trip, Sprague Lake, Rocky Mountain National Park, Colorado
A red headlamp is an essential tool for night photography. Before you rush out and buy one, make sure it has the most essential feature (other than the red LED). Some inexpensive headlamps have this feature and some very expensive ones don’t, so cost is not the issue.
It takes about 20-30 minutes for your eyes to fully dark adapt when doing photography at night. Red light does not mess with that process. Turn on a white light and you have to start dark adapting all over again. One night at Sprague Lake in Rocky Mountain National Park about 18 people in three different groups were doing Milky Way photography. Someone started walking around the far end of the lake with a white flashlight turned on and voices all around the lake yelled out “Turn off your light.”
After leading dozens of night photography field trips, I have decided one of the most frustrating things to have happen is for someone to accidentally turn on a white light and ruin the dark adaptation of the whole group. The problem is some headlamps make you cycle through all the white light settings to get to the red LED. That is a terrible design for night photography. So the most essential feature for a night photography headlamp is a separate button to turn the red LED on and off. It is even better if the red LED button is separated from the white LED button.
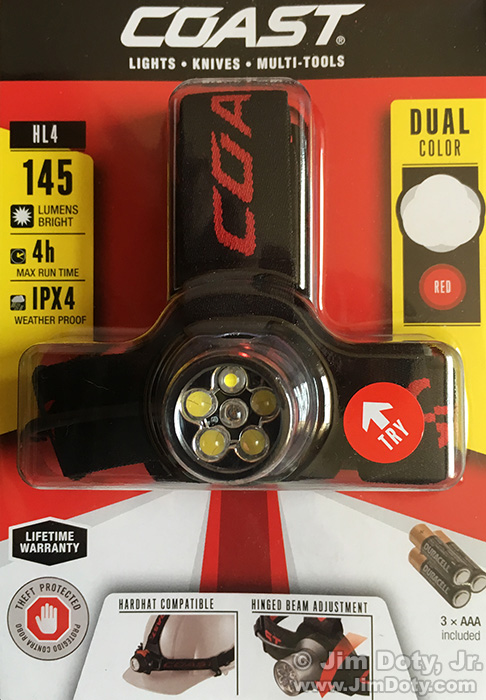
Coast headlamp purchased at Home Depot.
This is an inexpensive Coast brand headlamp that you can buy at Home Depot for about $22. It has the most essential feature. The model number is HL4 and the UPC on the back is 15286 19640.

The red LED button (letter A) is on top of the LED light cluster and the chrome button that controls the white LEDs (letter B) is underneath the LED light cluster. This is about as ideal as you can get with the control buttons opposite each other. Once you have locked it into your motor memory that you always want to go for the button on top, you are all set. No accidents and no blinding yourself and nearby photographers.
You can’t have your red LED on while you are actually taking pictures or the red glow will show up in the photos. So in a group workshop setting all red lights have to be off while shutters are open. On my workshops I will make sure everyone is all set to take their next picture before I say “going dark”. Everyone turns their headlamps off, and people say “shutter open” when they start their exposure and “shutter closed” when they are done. Once everyone has said “shutter closed” I say “going red” and we turn on our red LEDs and change our camera settings for the next image.
When you go shopping for your night photography headlamp, look for the separate control buttons.
Another option is the Cree LED headlamp that has separate buttons for red and white. Link below.
Location Tip: If you are in Rocky Mountain National Park, Sprague Lake is a great spot to do night photography. The mountain range is distant enough that you can get stars in the sky and star reflections in the lake. Most people set up on the east side of the lake and shoot facing west.
Purchase Links
You can find the Cree LED headlamp in the Misc Goodies section of my photography store.
Series Link
This is one in a series of articles that will guide you to the best of all things photographic. The rest are here: Buyer’s Guide: Recommendations For The Best Photography Equipment, Software, Books, Magazines, DVDs, Online Photo Labs and More.