Off-camera flash is so useful because it gives you a different look from the millions of photos that are taken with the flash on the camera. The light can come from any direction you choose, no matter where your camera is, and the latest technology makes automatic flash exposure quick and reliable.
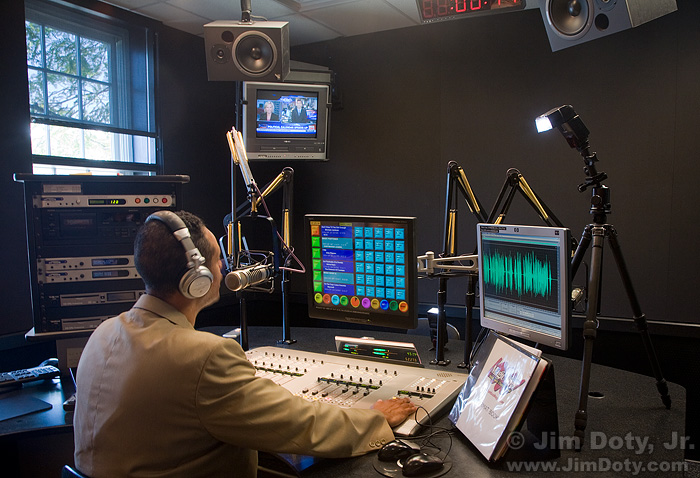
I went back for a second photo shoot with Warren Stevens, program director and on-air personality for Magic 106.3 FM in Columbus Ohio. The ambient light in the studio came from overhead spotlights which made for very unflattering shadows, so flash was a much better option. (People almost never look good in “top light” unless they are looking up at the light.) I used two off-camera flash units for this session. The next photo shows the approximate position of the two flash units.
The flash on the tripod to the upper right is the main light. A built in diffuser has been pulled out and down over the surface of the flash to spread the angle of the light. The flash is also higher than Warren’s face which is usually a good angle for most people. In this “demo” photo, a second flash is sitting on the desk just to the right of the monitor and is pointed up at the ceiling. The light bouncing off the white ceiling provides some fill light. For the “real” photos, the “desk flash” is a little more to the right and hidden from the view of the camera.
By moving the flash units around, you can get just the light you want. If I had used a single on-camera flash, the emphasis of the light would be on the back of Warren’s head and coat while his face would go dark. The light from the off-camera flashes make for a much more pleasing photo. This photo is a composite of two separate photos. In the flash photo of Warren, the monitors are too dark. I took a second photo (from the same location) with a much longer shutter speed to get the exposure right for the monitors. The two photos were combined later in Photoshop.
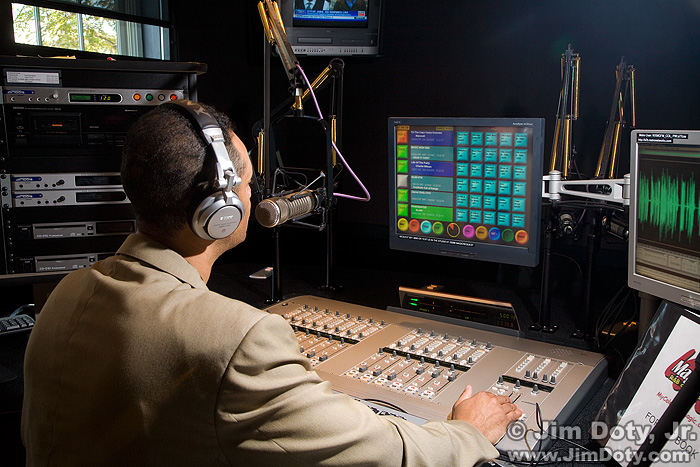
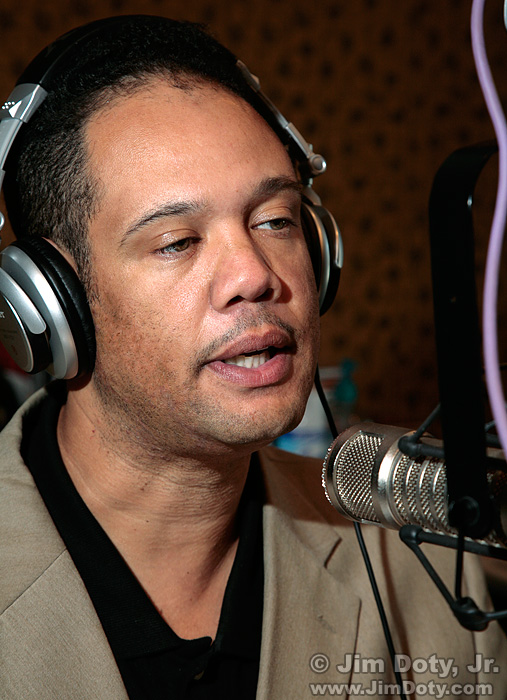
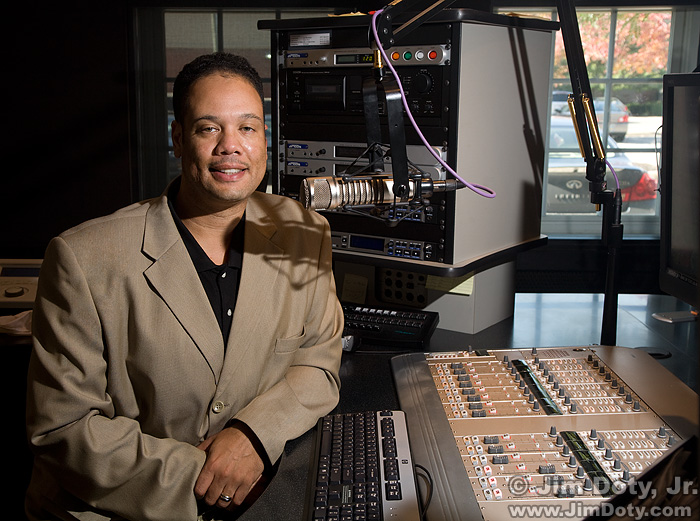
When doing environmental portraits it is important to shoot from a variety of angles, including the front at a slight angle to the face (like the photo immediately above), the side (the photo at the top of this article), and more from the back (the third photo from the top). Explore the possibility of shooting from high and low angles. In Part 1, you can see a photo taken from a low angle with the camera right on the board. The most flattering portraits usually come from having the camera slightly above the subject’s face, but don’t be afraid to try other angles.
Actions shots are important and most of the point of this kind of shoot. In several of these photos, Warren is on the air. I was worried about the click of the shutter and the audible “pop” of the flash units being picked up by the microphone, but that didn’t end up being a problem.
When you have the action shots you need, take some casual, “non-working” portraits of your subject in their working environment.
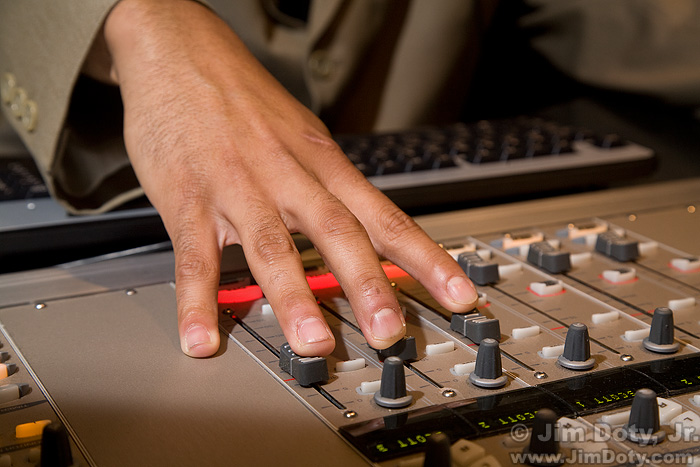
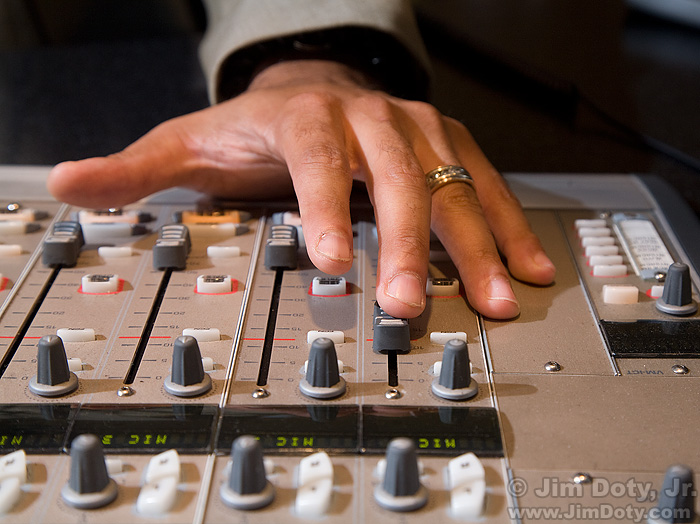
It’s also a good idea as part of your complete coverage to get some “detail” shots, like the photos of Warren’s hands working the board.
Information about the equipment used for these photos, including the infrared transmitter that makes automatic exposure so simple, is in Part 1.
More information on flash photography, off-camera flash, flash exposure compensation, lighting angles, and portrait photography are in my highly rated book, Digital Photography Exposure for Dummies.


